How to Build a Home Climbing Wall: A Full Guide to an Adult Training Wall
 Petr Hess, strength & conditioning coach
Updated 2 Nov 2026 · 15 min read
Key takeaways
Best for: Adults planning a home training wall
- For adult training, most people choose a 30–45° overhang with a short kicker, commonly about 10 in.
- Use 3/4 in. plywood, avoid OSB, and hammer in T-nuts on a grid of about 8 in. before mounting.
- Have a builder or structural engineer check any wall that attaches to joists, rafters, trusses or a beam.
- Cover the whole fall zone with gap-free matting that reaches past the wall's top edge and out to the sides.
- Inspect weekly for loose holds, damaged plywood and worn padding, and re-tighten holds that spin.
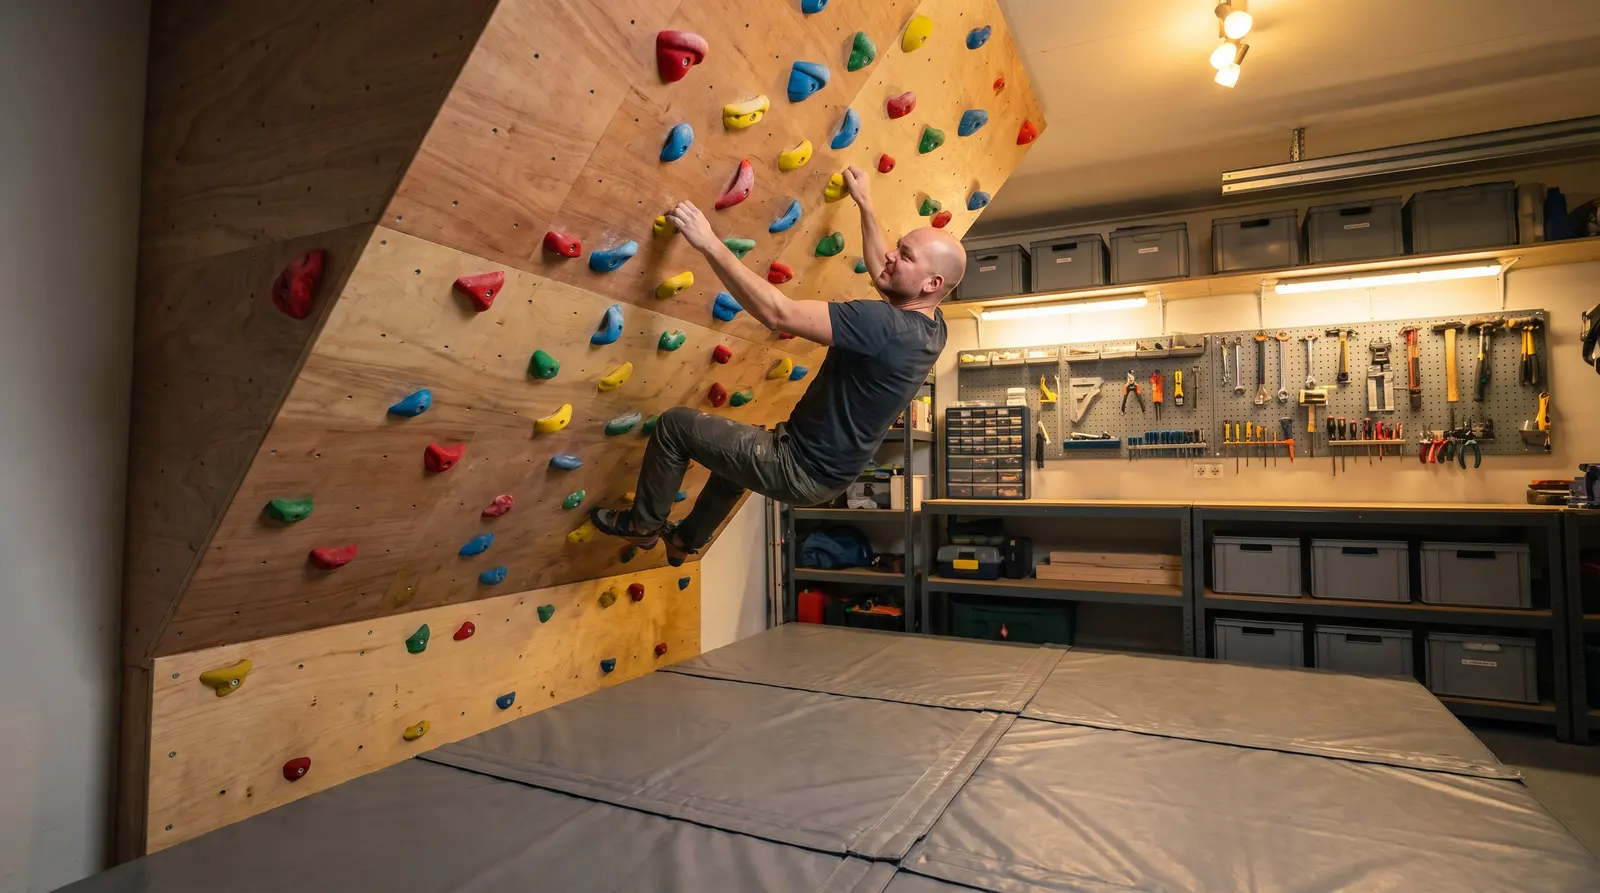
To build a home climbing wall for training, you need a space with enough ceiling height and floor depth, a strong frame (either fixed to the building or freestanding), 3/4 in. plywood fitted with T-nuts on a regular grid, a good set of bolt-on holds and thick matting underneath. For adult strength training, most people choose a 30–45° overhang with a short kicker at the bottom. Plan carefully, and get a professional to check anything that hangs off your house.
This guide is about an adult training wall: a steep wall or board for bouldering and finger strength, not a vertical play wall for kids. If you are building for small children, the structure and safety rules are different and much simpler.
I write as a strength and conditioning coach, not a carpenter, engineer or climbing coach. Climbing is my favourite complement to the training I do with individuals and clubs in Prague, and a home wall is one of the most useful training tools a climber can own. The build numbers below come from published build guides and manufacturer specs, linked in the sources. Before you buy anything, read our home climbing wall cost breakdown so the budget doesn't surprise you.
Should you build a home climbing wall?
A home wall saves travel time and lets you train in short, focused sessions. That makes it great for busy climbers, parents and anyone who lives far from a climbing gym. It is less great if you want variety, social climbing or long routes: a small steep wall gets repetitive, and you have to set your own problems or use a board app.
Be honest about three things before you start:
- Space. A steep wall needs depth as well as height. A 40° wall can stick out nearly 2 m (6 ft) from the back wall, plus the landing zone.
- Time. Treeline Review's authors spent more than a week planning and two days building with two people. Expect your first build to take longer.
- Use. If you will mainly train fingers, a hangboard may be enough. If you want to climb moves, a wall is worth it.
Step 1: Plan your space
Where to put the wall
The usual spots are a garage, basement, spare room or a covered backyard. Indoors is easier: plywood, holds and electronics all suffer in rain and humidity. If you build outside, plan for sealing, paint and a cover. Treeline's backyard wall needed sealer, stain, textured paint and a tarp.
Check these points before you pick a spot:
- Clear ceiling height at the place where the top of the wall will sit
- Floor depth for the overhang plus a landing zone in front and to the sides
- What the walls and ceiling are made of, and where the studs, joists or beams run
- Obstacles in the fall zone: stairs, cars, workbenches, shelves, pipes
- Light, ventilation and a power socket if you plan an LED board
Ceiling height and wall angle
The steeper the wall, the longer the climbing surface you can fit under the same ceiling, but the more floor space it takes. You can work out the numbers with simple trigonometry. The table below assumes a 10 in. (25 cm) kicker and the panel running from the top of the kicker to the ceiling.
| Ceiling height | Angle | Climbing panel length | How far the top sticks out |
|---|---|---|---|
| 8 ft (2.44 m) | 30° | about 8.3 ft (2.5 m) | about 4.1 ft (1.3 m) |
| 8 ft (2.44 m) | 40° | about 9.4 ft (2.9 m) | about 6 ft (1.8 m) |
| 8 ft (2.44 m) | 45° | about 10.1 ft (3.1 m) | about 7.2 ft (2.2 m) |
| 9 ft (2.74 m) | 30° | about 9.4 ft (2.9 m) | about 4.8 ft (1.4 m) |
| 9 ft (2.74 m) | 40° | about 10.7 ft (3.3 m) | about 6.8 ft (2.1 m) |
| 9 ft (2.74 m) | 45° | about 11.5 ft (3.5 m) | about 8.2 ft (2.5 m) |
These numbers match what builders report. In a Mountain Project thread on home walls, one builder noted that a 40° wall with a 10 in. kicker under an 8 ft 5 in. ceiling gives about 10 ft of climbing. Kilter's own clearance chart shows the same logic: a 7 x 10 ft Kilter Board with a 10 in. kicker needs about 130 in. of clear height when vertical but only about 102 in. (8.5 ft) at 40°.
Always add the landing zone to the floor depth. You will fall off the top of the wall, so the mats have to reach past the point where the top edge sits.
Which angle for training?
The angle decides what kind of climbing your wall gives you. Train at angles similar to the climbing you care about.
| Angle (overhang) | What it trains | Good for |
|---|---|---|
| 0–15° | Footwork, balance, small crimps, endurance | Technique, vertical and slab climbers, families |
| 20–30° | Mix of footwork and pulling; slopers still usable | All-round training, newer boulderers |
| 35–45° | Power, body tension, finger strength, core | Most adult training walls and boards |
| 50°+ | Very powerful moves, campusing; slopers become hard | Strong boulderers, low ceilings |
The MoonBoard is built at either 25° or 40°. The steeper 40° setting is the one aimed at strength and power; 25° puts more focus on footwork. A route setter quoted by Treeline Review said experienced boulderers often prefer about 30–60° of overhang, and pointed out that steep walls make slopers and flat holds much harder than jugs.
For most adults who want one wall for training, 30–45° is the sweet spot. Pick the lower end if you are newer to bouldering or want to keep using slopers; pick the upper end if you want a powerful board for strong climbers. If you can't decide, an adjustable frame or a hinged wall lets you change the angle later, at the cost of a more complex build.
The kicker
A kicker (or kickboard) is a short vertical or near-vertical panel at the bottom of a steep wall. It gives your feet something to push on at the start and keeps the bottom of the wall usable. Without one, the lowest part of a steep panel sits so close to the floor that you can't use it well.
- The standard MoonBoard kicker is 370 mm (about 14.5 in.). Moon suggests keeping at least 20 cm (8 in.) if you have to shorten it, because removing it makes problems harder.
- Builders in the Mountain Project thread suggested 8–12 in., with about 10 in. as a common choice for walls steeper than 20°.
A taller kicker eats into the main panel length, so in a low room keep it short.
Step 2: Choose your structure
There are two main ways to hold a steep wall up: attach it to the building, or build a freestanding frame.
| Wall-mounted (attached) | Freestanding (A-frame or steel frame) | |
|---|---|---|
| How it works | Top of the wall fixed to ceiling joists, rafters or a beam; bottom fixed at the floor or kicker | Self-supporting frame with legs or braces behind the panel |
| Space | Most compact | Needs extra depth behind the wall for the frame |
| Cost | Less lumber | More lumber or a bought frame |
| Main risk | Overloading or damaging the house structure | Tipping, racking or sinking on uneven ground |
| Best for | Owned homes, garages with solid joists or beams | Rented homes, backyards, rooms you can't modify |
Wall-mounted walls
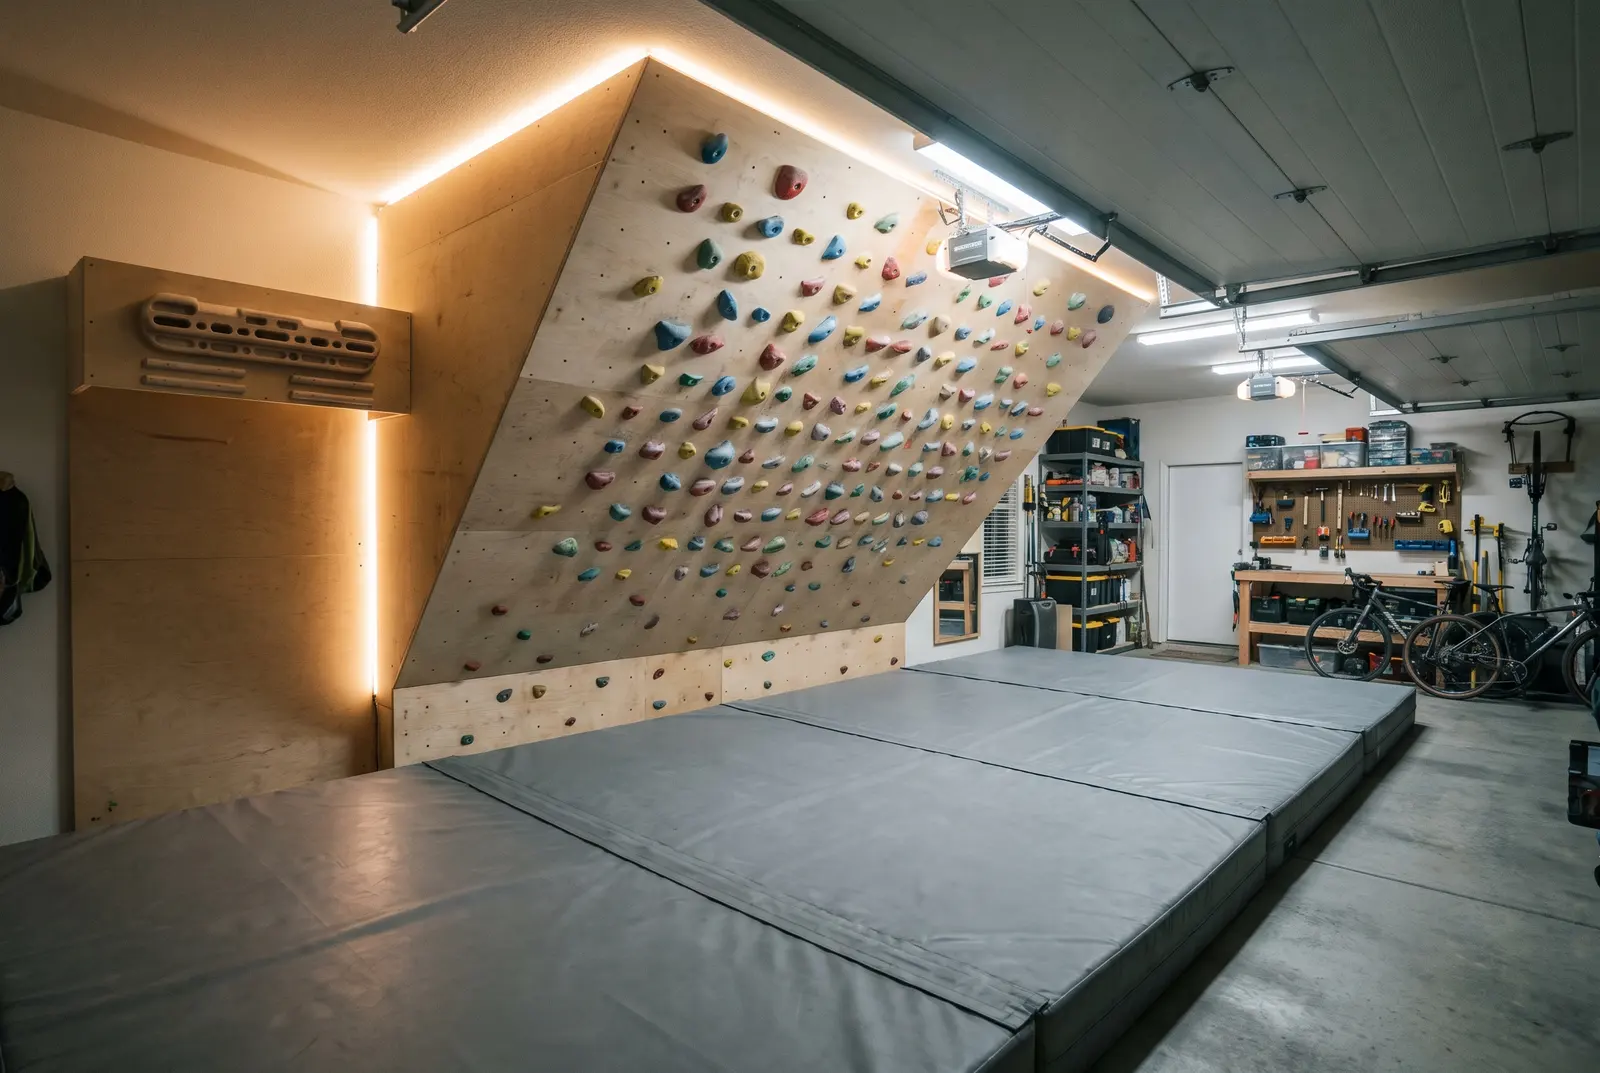
Most garage and basement walls hang the top of the frame from the ceiling structure and sit the bottom on the floor. In the Mountain Project thread, one experienced builder suggested hanging steep walls from a ledger with joist hangers; another added blocking between ceiling joists. The same builder pointed out that most basement slabs are not perfectly flat or level, so plan for that when you set the base.
Here is the important part. A climbing wall is heavy before anyone touches it. Moon Climbing lists the panels in its full-size DIY kit at 119 kg (about 262 lb), and that is without the frame, holds or climber. A falling or swinging climber adds dynamic loads on top of that. This Old House's expert advice is to confirm every stud you fix into, because a climbing wall has to cope with dynamic loads.
Freestanding walls
A freestanding wall uses its own frame, usually an A-frame of lumber with diagonal braces behind the panel, or a bought steel frame. Moon Climbing sells a freestanding steel frame for the MoonBoard, and Kilter and Tension boards are commonly set up on adjustable frames. A freestanding frame needs more floor depth and more material, but it doesn't load your house, which matters if you rent.
Build it square, brace it in both directions so it can't rack sideways, and stand it on a firm, level base. Treeline's authors warn that uneven or soft ground outdoors can make the frame uneven or let it sink.
Step 3: Materials and tools
Plywood
Use 3/4 in. plywood (about 18–19 mm) for the climbing surface. Treeline Review calls it the thinnest, lightest and cheapest option that is still strong enough. This Old House recommends 3/4 in. cabinet-grade plywood with a good finished face, and suggests an A-grade face with fewer knots and plugs. Moon Climbing's official panels are birch plywood.
- Grade matters. Large knots or voids near a T-nut increase the risk of a hold's T-nut tearing through.
- Avoid OSB. It is heavier, flexes more and is more sensitive to moisture, according to Treeline. Builders on Mountain Project say the same.
- Use full sheets where you can. Standard 4 x 8 ft (1220 x 2440 mm) plywood sheets make the layout simpler and reduce cutting.
- Outdoors: choose an exterior-rated plywood and seal it.
T-nuts
T-nuts are threaded inserts that sit in the back of the plywood so you can bolt holds on and move them around. The common sizes are 3/8 in.-16 in imperial countries and M10 in metric ones. Moon Climbing notes that M10 and 3/8 in. are the equivalent sizes.
- Drill size: IndoorClimbing.com uses a 7/16 in. bit for standard 3/8 in. pronged T-nuts. Some T-nuts need a different hole: Moon's T-nuts take a 13 mm (1/2 in.) hole. Check your T-nut maker's spec before you drill.
- Grid: a classic layout is holes every 8 in., starting 4 in. from the edges. IndoorClimbing.com says this gives about 72 holes per 4 x 8 sheet and keeps holes clear of the framing at 16 in. or 24 in. spacing. This Old House uses an 8 x 8 in. grid starting 6 in. from the bottom.
- Denser grids: some builders go down to about 4 in. for more setting options. More T-nuts means more drilling and more cost, so many people use a dense grid where they set most and leave the bottom for screw-on footholds.
- Type: cheap 4-prong T-nuts work, but they can spin or pop out. Screw-in or "commercial" T-nuts with screw holes cost more but stay put better.
Framing lumber and fixings
Most home walls are framed with 2x4 or 2x6 lumber (about 38 x 89 mm or 38 x 140 mm). Longer and steeper spans usually move up to 2x6. In the Mountain Project thread, one builder said 2x6 is more than you need for overhangs under 10 ft, but worth the small extra cost. Remember that lumber is sold by nominal size: a "2x4" is not actually 2 x 4 in.
Pressure-treated lumber is for outdoor builds. Treeline's authors used it and found it prone to warping, so they added extra horizontal supports. Indoors, standard kiln-dried framing lumber is usually the better choice.
If the structure is complicated, or you're not sure how big the framing needs to be, that is another good reason to get a builder or engineer to size it.
Tools
- Circular saw (and a mitre saw or sliding bevel for angled cuts)
- Drill/driver and an impact driver
- Correct drill bit for your T-nuts (Treeline's authors bought the wrong bit and had to redo every hole)
- Hammer, tape measure, chalk line, level, square and an angle finder
- Stud finder, ladder, clamps and sawhorses
- Safety glasses, hearing protection and a dust mask
- Hex key or wrench for hold bolts
Step 4: Build the wall (step-by-step overview)
Every wall is different, so this is an overview, not a blueprint. Follow the detailed plan for your design.
- Draw the plan. Sketch the wall from the side with exact measurements: ceiling height, kicker height, angle, panel length and the depth of the overhang. Mark where joists, studs or beams run. An online wall-angle calculator helps.
- Cut the plywood. Cut panels to size before drilling, so you know where the edges and framing lines fall.
- Mark and drill the T-nut grid. Lay out the grid so holes miss the framing. Drill from the climbing face so splinters exit at the back. IndoorClimbing.com suggests stacking two or three sheets to drill several at once.
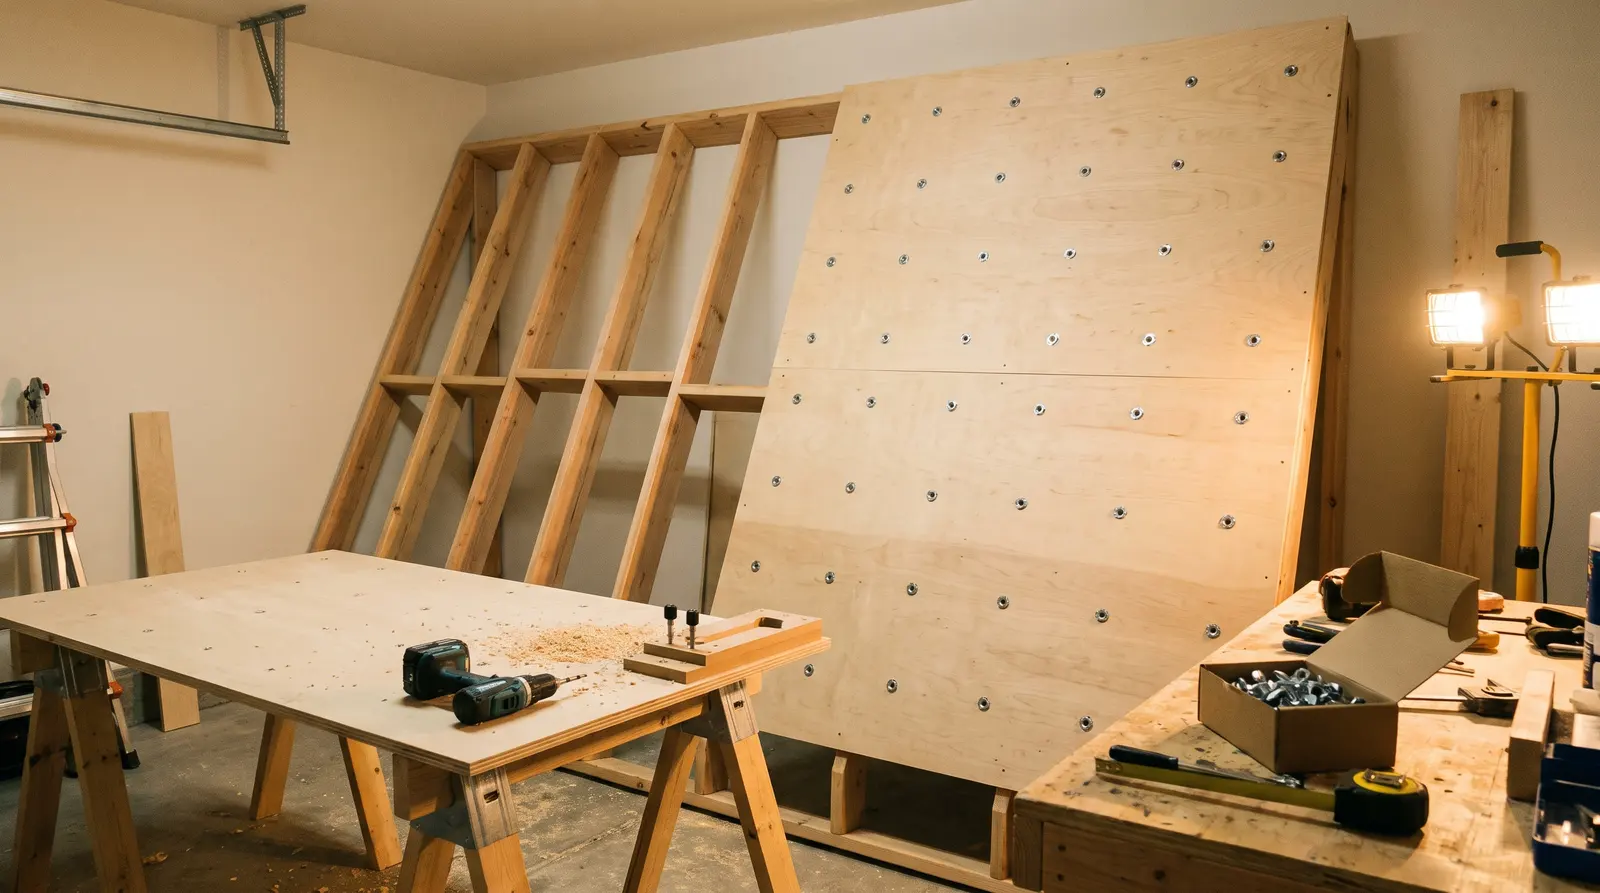
- Install T-nuts. Turn the panels face down and hammer the T-nuts in from the back until they sit flush and square. Do it now: hammering T-nuts into a mounted, overhanging wall is hard and stresses the frame.
- Finish the panels. Sand, seal or paint if you want. A textured paint adds a little friction. Let it dry fully.
- Build the frame. Fix the ledger or top plate, the bottom plate or kicker frame, and the angled studs at your chosen spacing. Check the angle and that everything is square.
- Build the kicker. Frame and sheet the kicker panel first, then the main panel above it.
- Mount the panels. Lifting overhanging panels is a job for at least two people. Screw them to every stud. Add horizontal blocking behind panel joints so the seams stay flat.
- Add the landing. Lay matting before the first climb, not after.
- Bolt on holds. Start with a set of jugs and good footholds, then add harder holds. Tighten firmly, but don't over-torque plastic holds.
- Check everything. Test each hold, climb gently first, and look for flex, creaks or movement in the frame.
If you want a standard board such as a MoonBoard, panel layout and hole positions must match the official spec exactly, or the app problems won't line up. In that case follow the manufacturer's build guide rather than your own grid.
Step 5: Choose holds for a training wall
Bolt-on vs screw-on holds
Bolt-on holds attach with a bolt into a T-nut. You can move them as often as you like, so they are the backbone of any training wall. Screw-on holds (usually small footholds and chips) fix with wood screws anywhere on the panel. They are cheap and great for filling gaps, but they leave screw holes, so most people use them as permanent footholds.
A route setter quoted by Treeline Review suggested filling the lower third of a spray wall with small foot chips. That gives you footholds everywhere without using up T-nuts.
What to buy
For an adult training wall, aim for variety:
- Jugs: for warming up and for easy problems
- Edges and crimps: in several sizes, for finger strength
- Pinches: for thumb and grip strength
- Slopers: fewer of them on steep walls, where they become very hard
- Pockets: a few, carefully, since they load single fingers
- Footholds: lots of small footholds and screw-on chips
Factory seconds (holds with small cosmetic flaws) and bulk hold packs are a common way to save money. Wooden holds are kinder to skin and popular on steep training walls; textured plastic or polyurethane holds give more grip and more shapes.
Spray wall or standard board?
A spray wall is a wall densely covered in holds, where you make up problems by choosing holds. It is endlessly flexible and cheaper than a branded board.
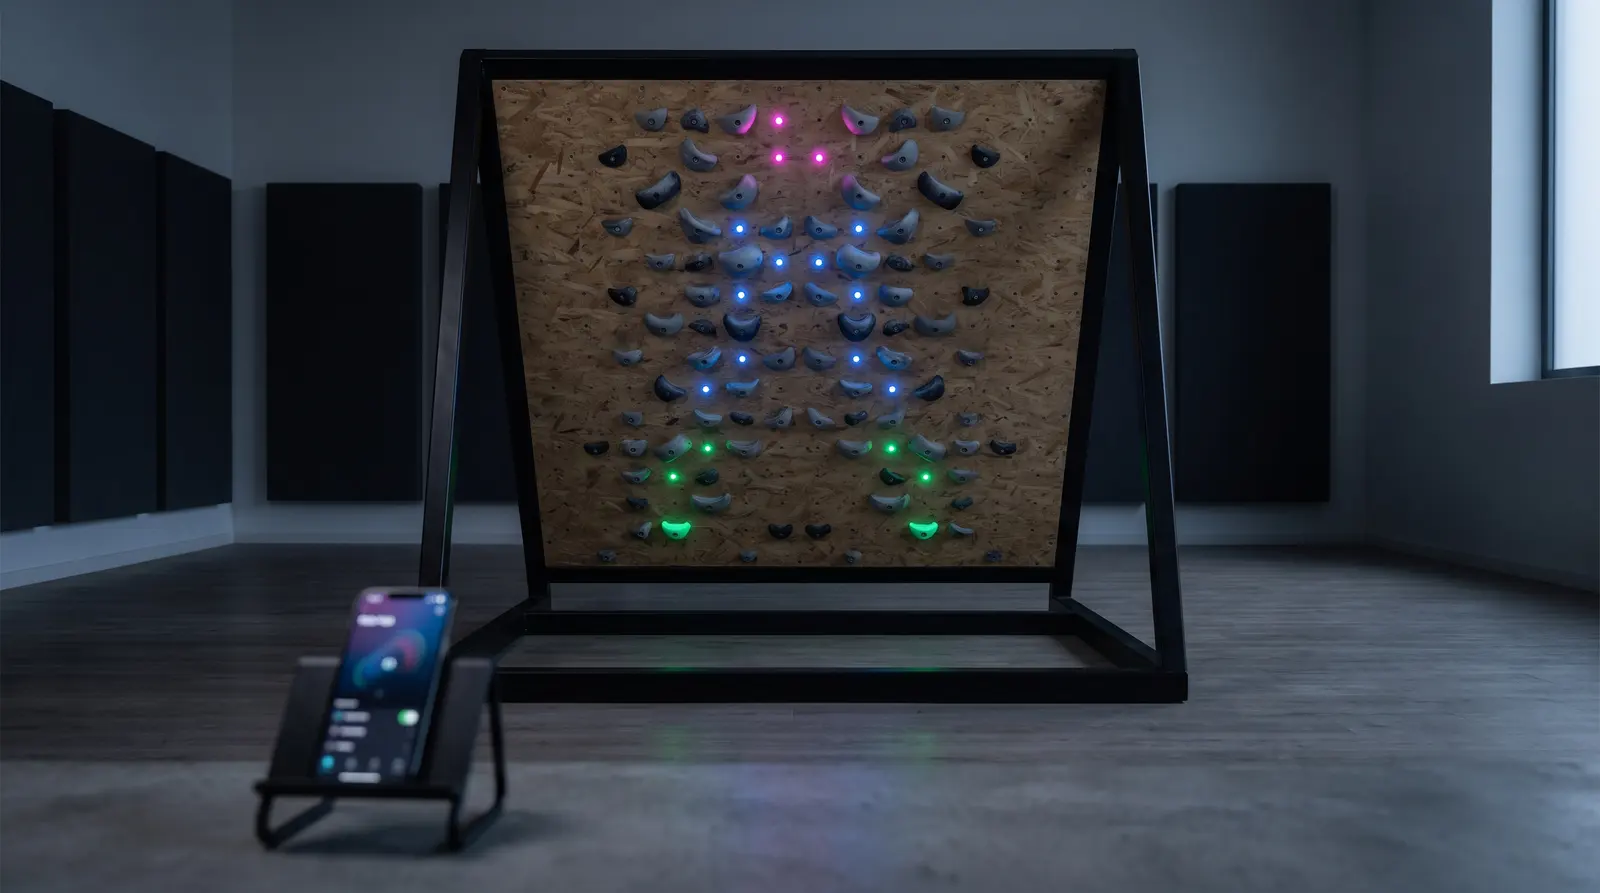
A standardized board such as the Kilter Board, MoonBoard or Tension Board uses a fixed layout and an app with thousands of problems, often lit by LEDs. You get structure and a shared grading system, but you pay more and must follow the exact spec. See our comparison of Kilter vs MoonBoard vs Tension Board if you're deciding between them.
Step 6: Matting and the landing zone
Falls on a home wall are short but frequent, and you land from the top of an overhang, often feet-first but sometimes awkwardly. Good matting is not optional.
- Cover the whole area under the wall, from the base to beyond the point where the top of the wall sits.
- Extend the matting to the sides, so a sideways fall still lands on foam.
- Avoid gaps between pads. Cover seams or use a single continuous mat.
- Keep the landing clear of tools, bottles, toys and the edge of steps.
This Old House recommends crash pads directly under the climbing area, large enough to catch falls from any angle, with extra padding in high-risk areas. Moon Climbing lists MoonBoard dimensions "+ safe fall zone requirements", which tells you the mats need their own space on top of the board's footprint.
Many home walls start with several bouldering crash pads pushed together, then upgrade to a custom-cut foam mat. For help working out how much coverage you need, read how many crash pads you need.
Safety rules for home climbing walls
At a gym, staff check the walls and the matting. At home, that is your job.
- Get the structure checked if it attaches to your house, and if you are unsure about anything, stop and ask a professional.
- Inspect regularly. This Old House suggests checking weekly for loose holds, damaged plywood and worn padding.
- Re-tighten holds. Holds can spin over time. A spinning hold is one of the most common causes of unexpected falls.
- Check bolt length. A bolt that is too long can bottom out against the wall behind the panel or push the T-nut out of the back of the plywood.
- Leave head room. Make sure you can't hit your head on the ceiling, a beam or a garage door track at the top of the wall.
- Climb alone with care. Nobody stands under a climber. Tell someone when you are training alone.
- Keep kids off an adult training wall unless supervised. Steep walls and hard holds are not a play structure.
- Warm up properly. Cold, short sessions on steep small holds are hard on fingers. Use a structured climbing warm-up before you pull hard.
If something hurts in your fingers, elbows or shoulders, don't train through it. Our injury section explains common climbing injuries and when to see a professional.
Build vs buy: DIY, kits or a board system?
You have three main routes to a home climbing wall:
| Option | What you get | Pros | Cons |
|---|---|---|---|
| Full DIY | You design, buy and build everything | Cheapest, fully custom angle and size | Most time and skill; your own design risk |
| Starter kit or pre-drilled panels | Holds, T-nuts and bolts, sometimes pre-made panels; you build the frame | Less planning, matched hardware | Still need a frame and carpentry |
| Board system (Kilter, Moon, Tension) | Fixed hold set, app, often LEDs; frame and panels may be extra | Thousands of set problems, standard grades | Most expensive; strict build spec |
Kilter says its hold-and-LED kits exclude the frame, panels, mats, shipping and installation, so the kit price is only part of the cost. Moon Climbing sells both DIY kits (you build the frame) and a complete freestanding kit. For real numbers, see our guide to what a home climbing wall costs.
As a rule of thumb: build DIY if you enjoy carpentry and want a custom spray wall; buy a board kit if you want structure and benchmark problems and can afford it; choose a freestanding frame if you rent or can't load the ceiling.
How to train on your home wall
A home wall is a tool. It makes you stronger only if you use it with a plan. From an S&C point of view, the rules are the same as in any strength program: do hard efforts when you are fresh, progress gradually and recover between sessions.
- Limit bouldering: short, hard problems of a few moves with full rest between attempts. This is where a steep home wall shines.
- Power endurance circuits: link several problems or climb longer circuits with short rests.
- Technique work: repeat the same moves with better footwork and body position.
- Finger strength: mount a hangboard above the wall and follow a structured hangboard program.
Two to three focused wall sessions a week are plenty for most recreational climbers alongside gym or outdoor climbing. Fit them into a full week using our bouldering training program, and keep at least one easy or rest day between your hardest sessions.
The biggest risk with a home wall is not the build, it's overuse. Because the wall is always there, it's easy to climb hard every day. Plan your sessions the same way you would plan gym training, and your new wall will make you stronger instead of injured.
FAQ
What plywood should I use for a home climbing wall?
Use 3/4 in. (about 18–19 mm) plywood with a smooth, good-quality face, such as cabinet-grade, sanded or birch plywood. Avoid OSB: it is heavier, flexes more and handles moisture badly. Large knots and voids near a T-nut increase the risk of the T-nut pulling through.
What angle is best for a home climbing wall?
For adult strength and power training, most home walls sit between about 30 and 45 degrees overhanging. 40 degrees is the angle the MoonBoard and many board problem libraries use. Steeper walls fit under lower ceilings but make slopers and small footholds much harder, so 25 to 35 degrees is a friendlier choice if you also want to train technique.
Do I need an engineer to build a climbing wall?
If the wall hangs off your house structure, such as ceiling joists, rafters or a garage beam, it is wise to have a builder or structural engineer check the attachment and the load path. A climbing wall is heavy before anyone climbs on it, and climbers add dynamic loads. Freestanding frames avoid loading the house but still need a stable, level base.
How many T-nuts do I need per sheet of plywood?
A common layout is an 8-inch grid starting 4 inches from the edges, which gives about 72 T-nuts per 4 x 8 ft sheet and avoids most framing members. Denser grids, down to about 4 inches, give more setting options but take more drilling and cost more.
Sources
- Jocelyn Crawford, Treeline Review, How to Build a Home Climbing Wall (2025)
- Carol J. Alexander, This Old House, How To Build a DIY Rock Climbing Wall (updated 2026)
- Steve Lage, IndoorClimbing.com, How to Install T-Nuts
- Moon Climbing, How to Build Your MoonBoard (build guide and FAQ)
- Setter Closet / Kilter, Kilter Board FAQ: sizes, clearance heights and pricing
- Mountain Project forum, Woody Advice (home wall design thread)