Tools to Build a Climbing Wall: The Complete Home Wall Tool Checklist
 Petr Hess, strength & conditioning coach
Updated 2 Nov 2026 · 15 min read
Key takeaways
Best for: DIY builders gathering tools for a home bouldering or training wall
- A drill plus an impact driver does most of the work; buy extra or bigger batteries for a dense T-nut grid.
- Most 3/8 in. 4-prong T-nuts take a 7/16 in. (about 11 mm) bit, heavier T-nuts 1/2 in.: test on scrap before drilling the panels.
- For US-standard holds you need 5/16 in. (socket-head) and 7/32 in. (flat-head) hex keys; metric M10 hardware needs metric keys.
- Wear glasses, ear defenders and an N95/FFP2 mask, and have a structural engineer or qualified builder check anything fixed to the house.
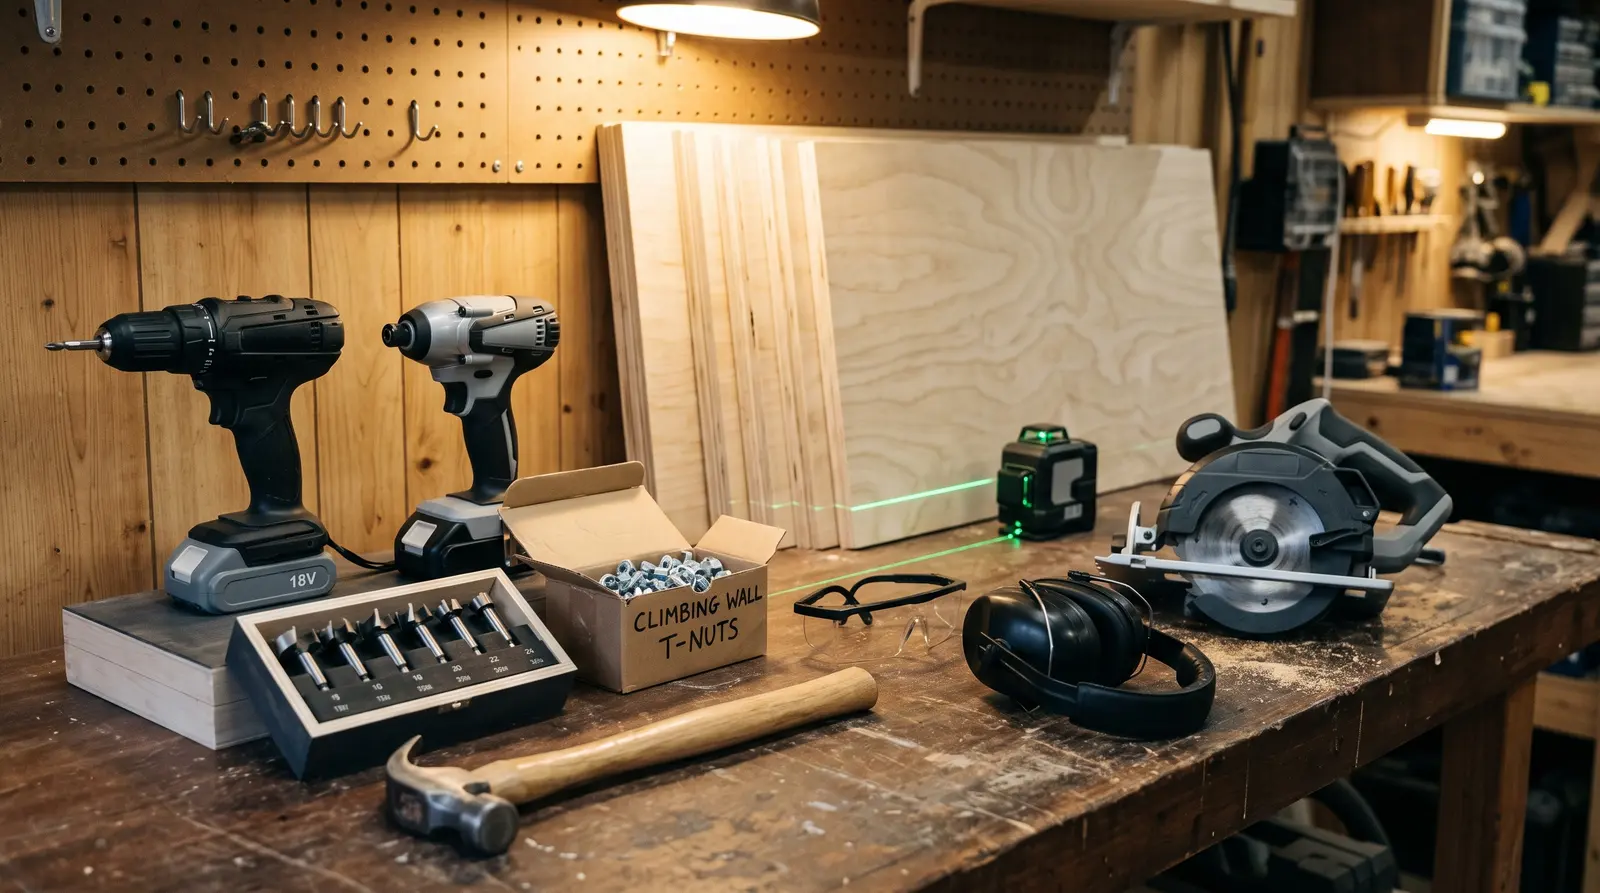
To build a climbing wall you need a cordless drill with the right bit for your T-nuts (usually 7/16 in., about 11 mm), an impact driver for the framing screws, a saw for the plywood and lumber, layout tools (tape, level, square, chalk line, stud finder), a hammer, clamps, a hex key for the holds, a ladder, and proper safety gear: glasses, ear defenders and a dust mask. Everything else is a nice-to-have that makes the job faster or cleaner.
This page is the tool list for the build in our guide to building a home climbing wall. Below you will find a printable-style checklist table, what each tool is actually for, budget and pro options, the order you will use them in, and the safety steps that most home wall guides skip.
Prices and stock change often; the button opens the retailer or brand page so you can check today's price.
I write as a strength and conditioning coach, not a carpenter or engineer, and I have not tested the tools below. The picks are built from manufacturer specs and from the build guides of hold makers and climbers that we link and cite. The brands are the ones you can buy in most countries: DeWalt, Makita, Milwaukee, Bosch and Ryobi all sell cordless platforms in the US and Europe, although model codes often differ between regions.
The climbing wall tool checklist
"Must-have" means you will struggle to build a safe wall without it. "Nice-to-have" saves time or gives a cleaner result. If you only build one wall, borrowing or renting the expensive items is a sensible option; Treeline Review's authors suggest checking local tool lending or rental programmes.
| Tool | What it's for | Priority | Budget option | Pro option |
|---|---|---|---|---|
Cordless drill/driver (1/2 in. or 13 mm chuck) | Drilling T-nut holes, pilot holes | Must-have | Brushed 18V/20V drill kit | Brushless drill with 3–5 Ah batteries |
Impact driver | Framing screws, lag bolts, panel screws | Must-have for steep walls | Bundled in a combo kit | Brushless impact driver, spare battery |
T-nut drill bit | Holes for 3/8 in. or M10 T-nuts | Must-have | 7/16 in. spade bit | Long brad-point or auger-style bit plus a drill guide block |
Circular saw | Cutting plywood and lumber | Must-have (unless the yard cuts for you) | Corded or cordless 6-1/2 to 7-1/4 in. saw with a clamped straightedge | Track (plunge) saw with guide rail |
Miter (chop) saw | Repeatable square and angled cuts on 2x4 and 2x6 | Nice-to-have | Speed square and circular saw | Sliding compound miter saw |
Jigsaw | Curves, notches, cutouts | Nice-to-have | Any corded jigsaw | Cordless jigsaw on your battery platform |
Tape measure, speed square, chalk line, pencils | Layout, cut lines, T-nut grid | Must-have | Basic 25 ft (7.5 m) tape | Large framing square, dry-erase marker for the grid |
Level | Level ledger boards, plumb posts | Must-have | 4 ft (1.2 m) spirit level | Self-leveling cross-line laser |
Stud finder | Find studs, joists and some live wires | Must-have if attaching to the house | Basic edge-finding stud finder | Multi-sensor finder with live-wire warning |
Hammer | Seating 4-prong T-nuts | Must-have | Claw hammer | Heavier framing hammer |
Clamps | Holding stacked panels while drilling, guides for the saw | Must-have | Two one-handed bar clamps | Four or more, including 24–36 in. (60–90 cm) bars |
Socket set or ratchet | Lag bolts, carriage bolts | Must-have for bolted frames | Basic 3/8 in. drive set | Impact-rated sockets |
Hex keys | Tightening holds; T-nut "installer" rod tricks | Must-have | Metolius Multi Wrench | T-handle hex set in imperial and metric |
Saw horses or a work platform | Supporting sheets for cutting and drilling | Must-have | Two folding saw horses plus a pallet | Foam cutting board or folding work table |
Ladder or step platform | Mounting the upper panels and frame | Must-have | Stepladder | Work platform or small scaffold tower |
Sander | Smoothing blowouts on the back, edges, paint prep | Nice-to-have | Sanding block | Random orbital sander with dust extraction |
Vacuum | Dust clean-up | Must-have indoors | Shop vac with a fine filter | Dust extractor (Class M in the EU and UK) |
PPE | Eyes, ears, lungs, hands | Must-have | Z87.1/EN 166 glasses, earmuffs, N95/FFP2 masks, gloves | Same, plus a reusable half-mask with P100/P3 filters |
IndoorClimbing.com publishes an even longer list (crowbar, T-bevel, string line, tool belt, extension cords, C-clamps). Its own advice is to use such lists to jog your memory rather than as a definitive list, and that is how to read the table above too.
Drill and impact driver: the two tools you'll use most
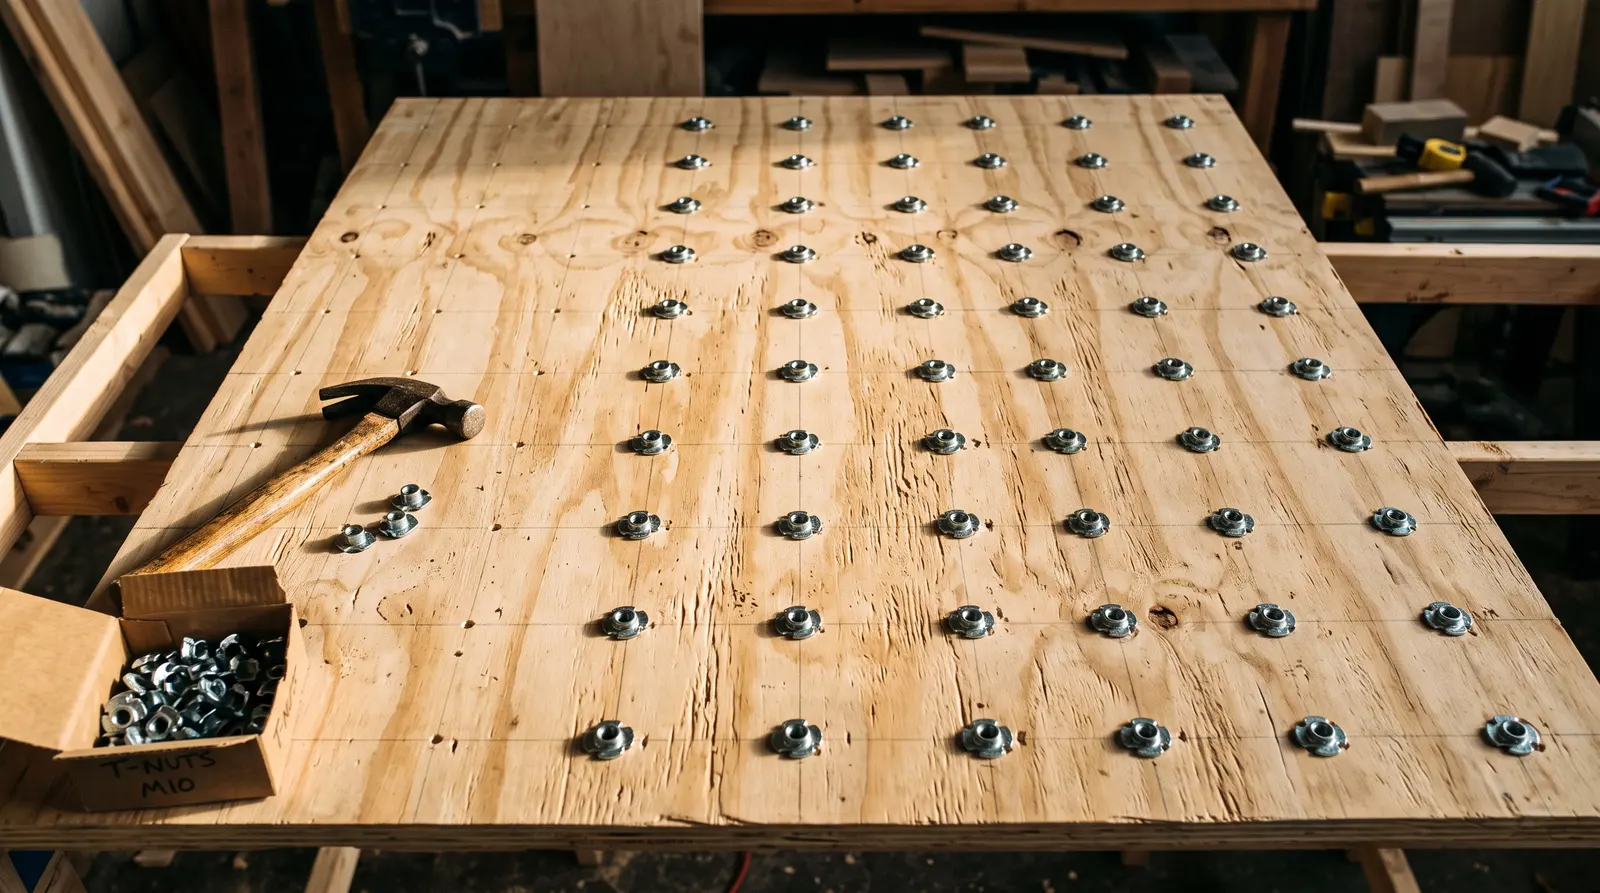
A home wall is mostly holes and screws. A single 4 x 8 ft (1.2 x 2.4 m) sheet on an 8 in. grid has about 72 T-nut holes, and a dense grid can easily double that: Atomik's example panel has 128. Then come the screws that hold the panels to the frame and the frame together. That is why most builders want two tools:
- Drill/driver for clean holes. Look for a 1/2 in. (13 mm) chuck, two speeds and a clutch. The low gear gives you control when a bit grabs; the clutch helps when you drive smaller screws.
- Impact driver for driving. Long structural screws and lag bolts into a 2x6 frame are hard on wrists with a drill; an impact driver does them with much less kickback into your hand.
Battery capacity matters more than raw power here. Small 1.3–2.0 Ah packs are light but you'll be swapping them often on a T-nut day, so a third battery or larger packs make the job smoother. We go deeper on torque, chucks and platforms in our guide to the best drill for a climbing wall.
Do you need a hammer drill? Only if you are fixing a frame or ledger into concrete or masonry. Atomik has a separate guide to concrete anchors; for anything structural like that, follow the anchor maker's instructions and have a qualified person check the design.
Makita 18V LXT Brushless 2-Piece Combo Kit (XT281S)
Makita's kit pairs a brushless 1/2 in. driver-drill (two speeds, 0–500 and 0–1,900 RPM, 440 in.-lbs of max torque, 3.6 lbs with battery) with a brushless impact driver rated at 1,500 in.-lbs, two 3.0 Ah batteries, a charger and a bag, according to Makita's product page. The 3.0 Ah batteries are a sensible size for a long drilling session, and LXT is one of the largest cordless platforms if you later add a circular saw.
Best for: builders who want one kit to drill all T-nut holes and drive the frame. Main drawback: it sits in the mid-to-premium price tier, and you still need a separate saw. Skip it if you already own batteries on another platform; buy the bare tools for your existing system instead.
DeWalt 20V MAX Drill/Driver and Impact Driver Combo Kit (DCK240C2)
DeWalt's entry kit combines the compact DCD771 1/2 in. drill/driver (two speeds, 0–450 and 0–1,500 RPM, ratcheting chuck) with the DCF885 1/4 in. impact driver (2.8 lbs), two 1.3 Ah batteries, a charger and a bag, per DeWalt's spec sheet. It is a common starter kit for good reason: both tools you need, on a platform with a huge range of add-on tools.
Best for: a first build on a budget. Main drawback: the 1.3 Ah batteries are small for a day of drilling hundreds of holes, and the motors are brushed. Skip it if you plan a large spray wall or several sheets with a dense grid; a kit with bigger batteries, or an extra battery, will save frustration.
Milwaukee M18 Compact Brushless 2-Tool Combo Kit (3692-22CT)
Milwaukee's kit includes the M18 compact brushless 1/2 in. drill/driver (3601) and 1/4 in. hex impact driver (3650), two CP2.0 batteries, a multi-voltage charger and a contractor bag, according to Milwaukee's product page. Like Makita and DeWalt, M18 is a big platform with saws, sanders and vacuums.
Best for: builders already on, or planning to go with, Milwaukee M18. Main drawback: 2.0 Ah packs are on the small side for a T-nut marathon. Skip it if you want larger batteries in the box; compare kit versions first.
Ryobi ONE+ and Bosch 18V kits are the other common choices, often cheaper, and perfectly able to drill 7/16 in. holes in plywood. Pick the platform whose saw and vacuum you'd also buy, because batteries are where the money goes.
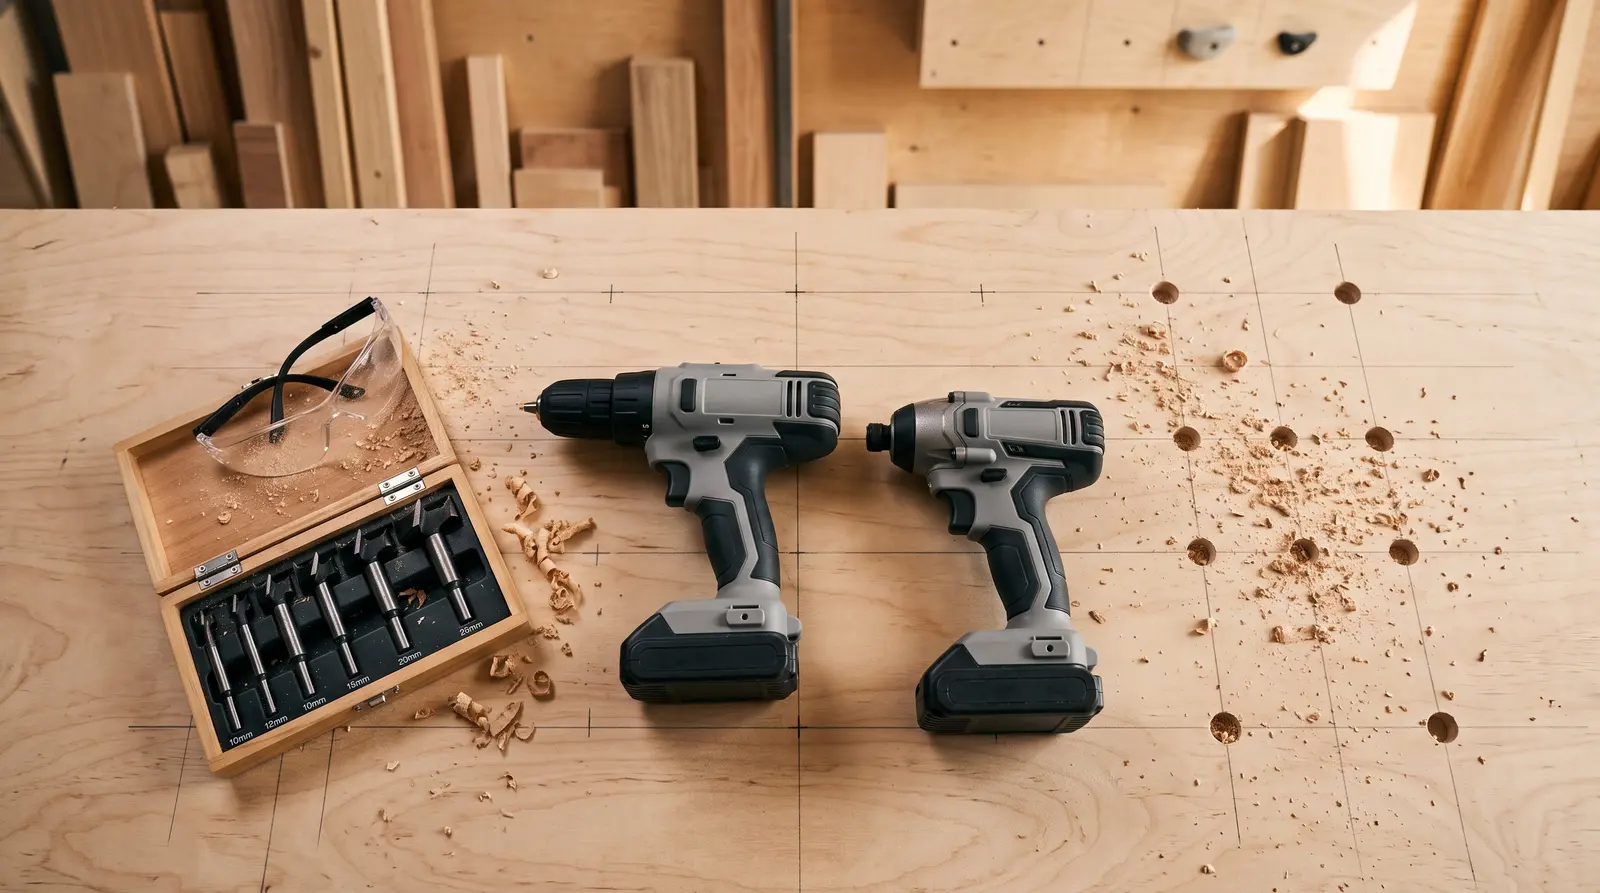
Drill bits for T-nuts: size and type
This is the tool most first-timers get wrong. Treeline Review's authors used the wrong size bit for every T-nut hole and had to go back over each one, and they also found their standard bit set didn't include the size they needed.
What size?
- Standard 3/8 in. 4-prong T-nuts: IndoorClimbing.com and Atomik both use a 7/16 in. (about 11 mm) bit, and Atomik calls it the size for most T-nuts.
- Industrial or heavier T-nuts: Atomik says these need a 1/2 in. (about 13 mm) hole.
- Metric M10 T-nuts (common in Europe) and round-base screw-in T-nuts vary by maker. Check the hole size on the T-nut maker's spec sheet.
The rule that saves you hours: drill a test hole in a plywood offcut and seat one T-nut before you drill the real panels. It should go in snug and square, not loose and not so tight that it splits the plywood. Our guide to climbing wall plywood and T-nuts covers T-nut types and grids in detail.
Spade bit vs Forstner bit vs hole saw
| Bit | Good for | Drawbacks | Verdict for T-nuts |
|---|---|---|---|
Spade (paddle) bit | Fast, cheap holes, one panel at a time | Rougher hole, more blowout on the exit side, can wander | Fine, and what many builders use |
Long general-purpose or auger-style bit | Drilling a clamped stack of 2–3 panels at once | Needs a long bit and a straight guide | Best for drilling several sheets together |
Brad-point bit | Clean entry, accurate start on a marked point | Fewer long sizes available | Good choice for a neat front face |
Forstner bit | Very clean, flat-bottomed holes | Slow, hard to keep square in a hand drill, short | Works, but rarely worth it for through-holes |
Hole saw | Large holes (cable runs, LED wiring) | Far too big for T-nuts | Not needed for T-nuts |
Atomik's guide says a spade bit is fine for one panel at a time, while they used a 12 in. general-purpose bit and a jig to drill several stacked panels. Their simple drill guide is a square block of 2x4 with a 7/16 in. hole through the middle, cut on a chop saw: hold it on the mark and drill through it to keep the bit perpendicular.
Saws: circular saw vs track saw (and when you need neither)
You need to cut two things: 3/4 in. (18–19 mm) plywood sheets, and framing lumber such as 2x4 or 2x6. Atomik says 2x6 is the standard for overhanging walls.
- Circular saw: the default. A 6-1/2 in. cordless saw can cut through 3/4 in. plywood and, depending on the model, through 2x lumber in one pass. Clamp a straight board to the sheet as a fence for straight rip cuts.
- Track (plunge) saw: the saw runs on a guide rail, so long cuts in plywood come out straight and clean with very little set-up. Great if you are building panels for an LED board or a big spray wall; overkill for a few cuts.
- Miter saw: makes square and angled cuts on framing lumber quick and repeatable. Handy for a wall with many studs; not essential.
- No saw: Treeline Review notes that some lumber suppliers will cut sheets for you if you bring a precise cut list. If your design uses full 4 x 8 ft sheets, you may only need a few cuts.
Makita 18V LXT 6-1/2 in. Circular Saw (XSS02Z)
Makita lists a 2-1/4 in. cutting capacity at 90°, a bevel range of 0–50° and a 6-1/2 in. 16-tooth carbide blade in the box. It is a tool-only model (no battery or charger), so it makes most sense if you bought an LXT drill kit.
Best for: cutting plywood and 2x framing on the same battery as your drill. Main drawback: the 16-tooth framing blade leaves a rough edge on plywood; a finer plywood blade gives cleaner cuts. Skip it if you are on another battery platform; buy that brand's circular saw instead.
Makita 6-1/2 in. Plunge Circular Saw (SP6000J)
Makita's corded plunge saw has variable speed (2,000–5,200 RPM), a depth scale, an electric brake, a 1-7/16 in. dust port for a vacuum and a 48-tooth carbide blade. Makita sells the guide rail as an option and also as a bundle (SP6000J1).
Best for: people who will cut a lot of plywood and want clean, splinter-free edges and better dust control. Main drawback: premium price tier, and you need the rail. Skip it if you only need a handful of cuts.
Layout tools: stud finder, level, laser, square
Good layout is what makes a wall safe and a grid tidy. Use these to:
- Find structure. A stud finder locates studs and joists through drywall. IndoorClimbing.com notes that modern stud finders can also warn you about electric lines, and advises finding electrical lines and any other cables before anchoring. Always confirm a stud with a small pilot hole before you drive a lag bolt.
- Level and plumb. A 4 ft (1.2 m) spirit level does the job. A self-leveling cross-line laser is a nice-to-have that makes it quick to set ledger boards and posts at the same height across a wide wall.
- Square and angle. A speed square for cut lines, a T-bevel or angle finder for the overhang angle. Atomik has a wall angle chart if you are still choosing; see also our page on the best home climbing wall angle.
- Mark the grid. Atomik uses a tape, a dry-erase marker or pencil, and a chalk line to mark the T-nut grid. Clean off the marks afterwards.
Franklin Sensors ProSensor M210
Franklin says the M210 uses 13 sensors and 21 LEDs to show the width of a stud rather than only its edge, with a 1.7 in. detection depth, a built-in bubble level and a live-wire warning.
Best for: finding joists and studs before you fix a wall or ledger to a house. Main drawback: no stud finder replaces a pilot hole; detection depth is limited behind thick or layered linings. Skip it if you are building a freestanding frame that never touches the house.
Hammer, T-nut tools and clamps
4-prong T-nuts are hammered in from the back of the panel. IndoorClimbing.com recommends a couple of solid, square hammer hits, then checking that each T-nut is straight and flush; if one goes in crooked, pull it with the claw and try again. Atomik warns that an angled T-nut increases the chance of cross-threading a bolt later. Install T-nuts before the panels go up: pounding on a mounted wall stresses the frame joints.
Two cheap tricks from IndoorClimbing.com are worth copying:
- T-nut installer: a short piece of 3/8 in. threaded rod with two nuts and two washers, clamped in the drill chuck and run on slow speed, can pull a loose or spinning T-nut tight.
- Glue fix: for a spinning T-nut, glue the hole, reseat the T-nut and let the glue dry for a few hours. If the plywood is too damaged, drill a new hole.
Round-base T-nuts with three screw holes skip the hammer: Atomik says you push them into the hole and drive the three screws. That makes a small screwdriver bit in your impact driver part of the kit.
Clamps hold stacked panels together while you drill, and hold a straightedge for the saw. Atomik clamps its stacked panels and lifts them onto a pallet, so the bit goes into the pallet instead of the floor when it breaks through.
Irwin Quick-Grip XP600 One-Handed Bar Clamp
Irwin rates the XP600 at up to 600 lbs of clamping force with double-locking swivel jaws and a 3-3/4 in. throat depth, and it converts to a spreader. It comes in several lengths; 24 in. (about 60 cm) is a useful size for a straightedge across a plywood sheet.
Best for: clamping saw guides and panel stacks one-handed. Main drawback: a pair is the minimum, and longer lengths cost more. Skip it if you already own a couple of bar or F-clamps of similar reach.
Hex keys for climbing holds
Most North American holds use a 3/8-16 socket-cap bolt, according to Atomik, with the key going inside the bolt head. Metolius sells a Multi Wrench that covers the two standard sizes: 5/16 in. for socket-head bolts and 7/32 in. for flat-head bolts. If your holds come with metric M10 hardware, which is common in Europe, you need the matching metric key. A combined imperial and metric T-handle set covers everything.
Tighten holds with a hand key so you can feel when the hold bites. Power drivers make it easy to overdo it and spin a T-nut. Also check bolt length: Atomik measures socket-cap bolts from the tip to underneath the head, and a bolt that is too long can bottom out behind the panel. For hold choice, see our guide to the best climbing holds for a home wall.
Metolius Multi Wrench
Metolius calls it a must-have for any home wall: one tool that fits the two standard Allen sizes, 7/32 in. for flat-head and 5/16 in. for socket-head bolts.
Best for: anyone setting on a wall with US-standard bolts. Main drawback: it is a basic L-key, and a T-handle is faster for heavy setting days. Skip it if your hardware is metric.
Metolius T-Nuts
Metolius sells 3/8 in. 4-prong T-nuts in bags of 25 or 100, made to take a 3/8 in. hold bolt. Treeline Review's authors found bulk T-nuts online cheaper than hardware-store packs, so compare per-nut costs for a big grid.
Best for: small walls, repairs and topping up a grid. Main drawback: 4-prong T-nuts can spin or sit crooked if not hammered in square. Skip it if you want screw-in round-base T-nuts, or are building a large grid where bulk packs are cheaper.
Safety gear (PPE)
Building a wall means saws, a lot of drilling, sanding and work overhead. The minimum kit:
- Safety glasses for every cut, every hole and every hammer blow on a T-nut. Look for ANSI Z87.1 in the US or EN 166 in Europe.
- Hearing protection. HSE says people in most woodworking shops are likely to exceed the 85 dB upper exposure action value, and that hearing protection only works if you wear it properly for the whole time you are exposed. Circular saws and hammering in an enclosed garage are loud.
- Dust mask. HSE warns that wood dust can cause asthma and that hardwood dust can cause cancer, particularly of the nose. Wear at least an N95 (US) or FFP2 (EU) disposable respirator for cutting and sanding; a tight seal matters, and HSE says a mask must fit properly, which also means being clean-shaven where it seals.
- Gloves for handling sheets and lumber, but not while running a saw or drill where they could catch.
Moldex 2200N95 respirator
Moldex lists the 2200 as a NIOSH-approved N95 with two straps and a Dura-Mesh shell that resists collapsing in hot, humid conditions.
Best for: cutting and sanding plywood in a garage. Main drawback: disposable masks need a good fit; buy the right size and test the seal. Skip it if you will sand a lot; a reusable half-mask with P100/P3 filters is better value and comfort.
Moldex MX-5 Earmuff (6120)
Moldex rates the MX-5 earmuff at NRR 27 dB.
Best for: saw and hammer days. Main drawback: earmuffs get warm in a hot garage. Skip it if you prefer foam earplugs and wear them correctly.
Moldex Adapt 5002C safety glasses
Moldex says the Adapt clear-lens glasses meet ANSI Z87.1 and have an anti-fog coating, which helps when you also wear a mask.
Best for: indoor building with a respirator on. Main drawback: not a substitute for a face shield if you use heavier machinery. Skip it if you wear prescription glasses; get over-glasses goggles instead.
Workflow: the order you will use the tools
- Plan and measure. Tape, level, square, angle finder. Draw the wall and make a cut list. Get your design checked (see below).
- Find structure and services. Stud finder, pilot holes, flashlight. Locate studs, joists, electrical lines and pipes. IndoorClimbing.com also advises climbing up and visually checking clearance before you cut or drill.
- Cut panels and lumber. Circular or track saw, miter saw, clamps, saw horses, PPE. Treeline and IndoorClimbing both cut panels to size before installing T-nuts.
- Paint or seal (optional). Atomik paints panels before drilling.
- Mark the T-nut grid. Tape, chalk line, pencil or marker.
- Drill. Drill, T-nut bit, guide block, clamps, pallet under the stack. Drill from the climbing face so blowout ends up on the back, with steady, even pressure.
- Sand the back and seat the T-nuts. Sander or block, hammer, threaded-rod installer.
- Build and fix the frame. Impact driver, socket set, level, ladder, a second person.
- Mount the panels. Impact driver, clamps or helpers to hold the sheet. Treeline's two authors built and raised their wall together.
- Pad the floor and set holds. Hex keys. See home climbing wall mats.
Safety: the parts that matter most
Anchoring the wall to the building
This is the part a tool list can't solve. A climbing wall is heavy before anyone climbs on it, and climbers add swinging, dynamic loads. Atomik's own advice is to review your structural plan with someone you trust, because home walls add a lot of stress to the structure, and they quote a builder who has seen many walls that were "severely under-engineered and dangerous to climb on". Atomik also points out that general contractors build walls for buildings, not for people to hang from.
Our recommendation: if any part of the wall is fixed to joists, rafters, studs, beams or masonry, have a structural engineer or qualified builder check the design, the fixings and the load path before you climb. We don't give load ratings for screws, lag bolts or anchors, because they depend on the fixing, the timber and the building. If you rent, or the building can't take the load, a freestanding climbing wall avoids loading the house, but it still needs posts that can't be kicked out, as Atomik notes.
Cutting plywood safely
- Support the sheet on both sides of the cut (saw horses with sacrificial boards, or a sheet of foam on the floor) so the cut doesn't close and pinch the blade.
- Set the blade depth just deeper than the plywood.
- Keep both hands on the saw, the cord behind you, and let the blade stop before you lift it.
- Read the saw's manual for its specific kickback warnings.
Dust
Cut outside or with a vacuum connected where you can. HSE advises never to dry-sweep or blow wood dust with compressed air, because that puts the fine particles back in the air, and to clean up with a suitable vacuum (Class M in the UK). OSHA also lists wood dust as a respiratory hazard on its wood dust page.
Working at height
Mounting the top panels of a steep wall means lifting heavy sheets overhead. Use a stable stepladder or a work platform, keep a helper on the sheet, and don't overreach. HSE describes ladders as fine for low-risk, short-duration tasks but not automatically the first choice; for longer work at height a platform is safer.
Common mistakes
- Wrong bit size. Test on scrap first. It is the mistake Treeline's team made on every hole.
- Drilling from the back. Blowout should end up on the back, where the T-nut flange covers it.
- Hammering T-nuts into a mounted wall. Do it on the bench.
- Too few batteries. A small-battery kit plus a dense grid means a lot of waiting.
- Skipping the engineer. The tools are cheap compared with a ceiling that comes down.
- No PPE in a closed garage. Dust and noise build up fast indoors.
- Using a power driver to tighten holds. Use a hand key.
Tool names in German (Werkzeug Boulderwand bauen)
For readers shopping in Germany, Austria or Switzerland, the same list in German:
| English | German |
|---|---|
Cordless drill/driver | Akku-Bohrschrauber |
Impact driver | Akku-Schlagschrauber |
Spade bit / Forstner bit | Flachfräsbohrer / Forstnerbohrer |
T-nut | Einschlagmutter |
Circular saw / track saw | Handkreissäge / Tauchsäge mit Führungsschiene |
Stud finder | Ortungsgerät |
Laser level | Kreuzlinienlaser |
Hex key | Innensechskantschlüssel (Inbusschlüssel) |
Ear defenders / dust mask | Gehörschutz / Staubmaske (FFP2) |
Before you buy, check the home climbing wall cost breakdown: if you own none of these tools, they can add a real chunk to the budget, and borrowing or renting the saws is often the smart move.
Prices and stock change often; the button opens the retailer or brand page so you can check today's price.
FAQ
What size drill bit do I need for climbing wall T-nuts?
Standard 3/8 in. 4-prong T-nuts usually go into a 7/16 in. (about 11 mm) hole. Atomik notes that heavier industrial T-nuts need a 1/2 in. (about 13 mm) hole. Always check the spec from your T-nut maker and drill a test hole in scrap plywood before you drill a whole sheet.
Do I need an impact driver to build a climbing wall?
It is not strictly required, but it is the most useful second tool. A drill makes the T-nut holes; an impact driver drives the hundreds of framing and panel screws, and the lag bolts, with far less wrist strain. Many cordless drill kits include both tools and share batteries.
What hex key do I need for climbing holds?
In North America most holds use 3/8-16 bolts. Metolius sells its Multi Wrench for the two common sizes: 5/16 in. for socket-head bolts and 7/32 in. for flat-head bolts. Metric M10 hardware, common in Europe, needs a metric key, so check your bolts or buy a combined imperial and metric set.
Should I use a spade bit or a Forstner bit for T-nut holes?
Either can work. Atomik says a spade bit is fine when you drill one panel at a time, while a long general-purpose bit works better for drilling a clamped stack of panels. Forstner bits cut cleaner holes but are slower and harder to keep square by hand. Hole saws are for much larger holes and are not needed for T-nuts.
Sources
- Atomik Climbing Holds, How to Drill a Rock Climbing Wall Panel for T-Nuts
- Atomik Climbing Holds, Common Mistakes Made When Building a Climbing Wall
- Steve Lage, IndoorClimbing.com, How to Install T-Nuts
- IndoorClimbing.com, Planning to Build a Climbing Wall (tool and materials lists)
- Jocelyn Crawford, Treeline Review, How to Build a Home Climbing Wall (2025)
- Health and Safety Executive (HSE), Wood dust