Types of Climbing Holds: How to Recognise and Grip Each One
 Petr Hess, strength & conditioning coach
Updated 2 Nov 2026 · 8 min read
Key takeaways
Best for: Climbers learning to read and grip different hold types
- The main hand holds are jugs, edges and crimps, slopers, pinches, pockets, sidepulls, gastons, underclings and volumes.
- Open hand puts the lowest load on finger pulleys and full crimp the highest, so save full crimping for tiny edges.
- One biomechanical model estimated A2 pulley forces 36 times lower in an open grip than in a crimp grip.
- Grip slopers open-handed and stay low under them; keep fingers neutral in pockets and pull in line with the hole.
- Make open hand and half crimp your defaults, and stop if a hard crimp leaves pain at a finger's base.
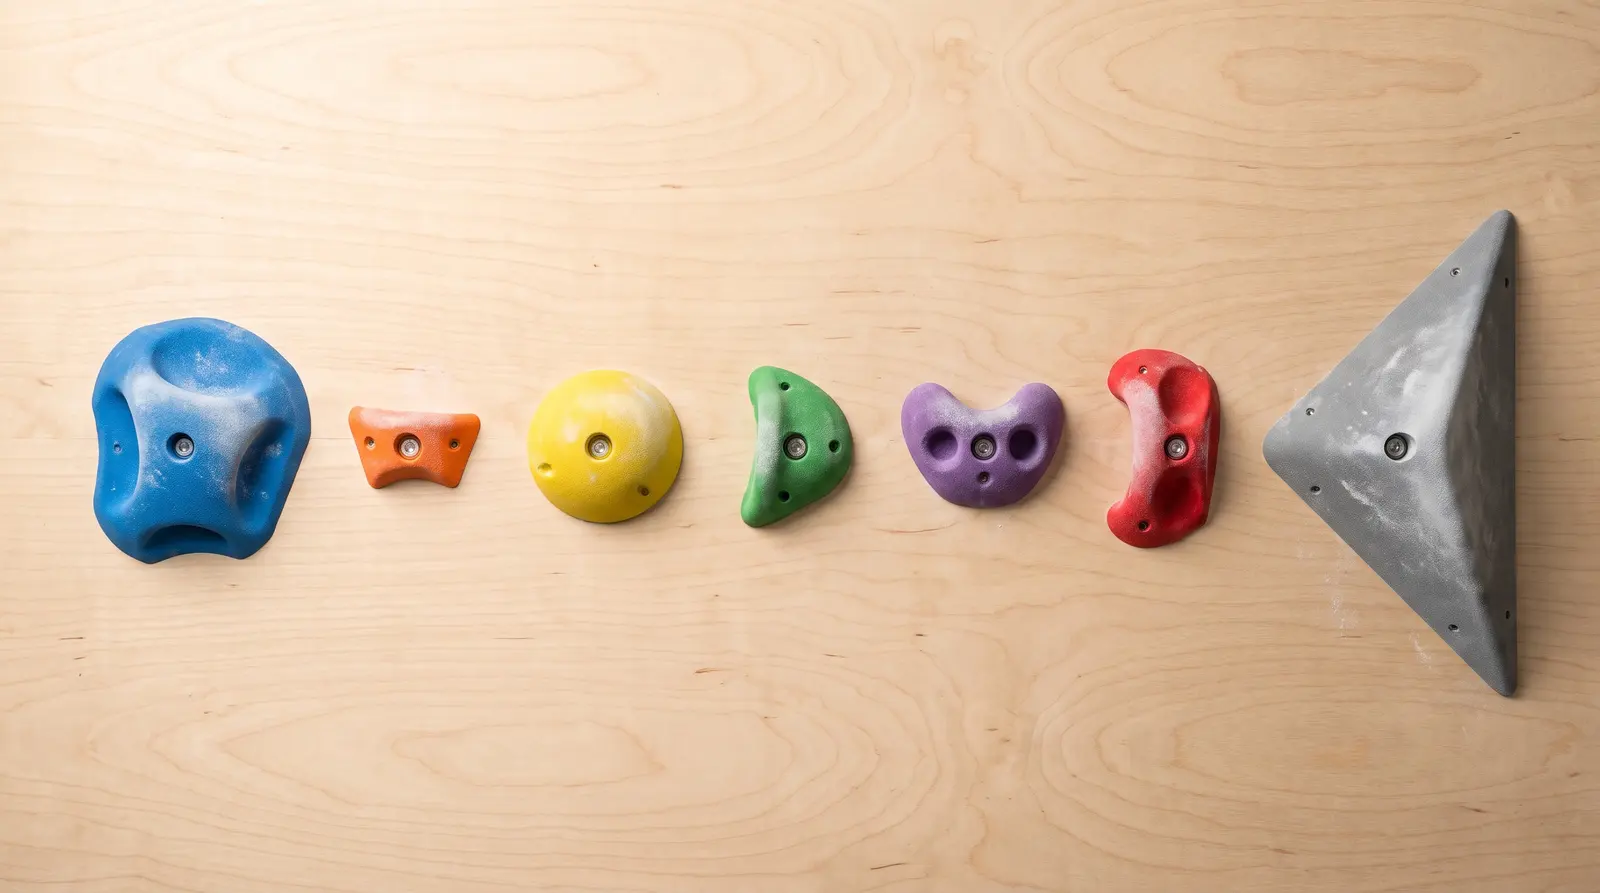
The main types of climbing holds are jugs (big, easy handles), crimps and edges (thin ledges for your fingertips), slopers (rounded holds you palm), pinches (squeezed with the thumb), pockets (holes for one to three fingers), and holds defined by direction: sidepulls, gastons and underclings. Gyms add volumes, and your feet use edges and smears. Each hold works best with a specific grip and body position, and the grip you choose on small edges matters a lot for your finger pulleys.
This guide covers how to recognise each hold, how to grip it, what body position makes it work, and a safety or training note for each. If a word is unfamiliar, check our bouldering terms glossary. I'm a strength and conditioning coach, not a climbing coach, so the training notes are from that angle and backed by research where it exists.
First, the grips: open hand, half crimp, full crimp
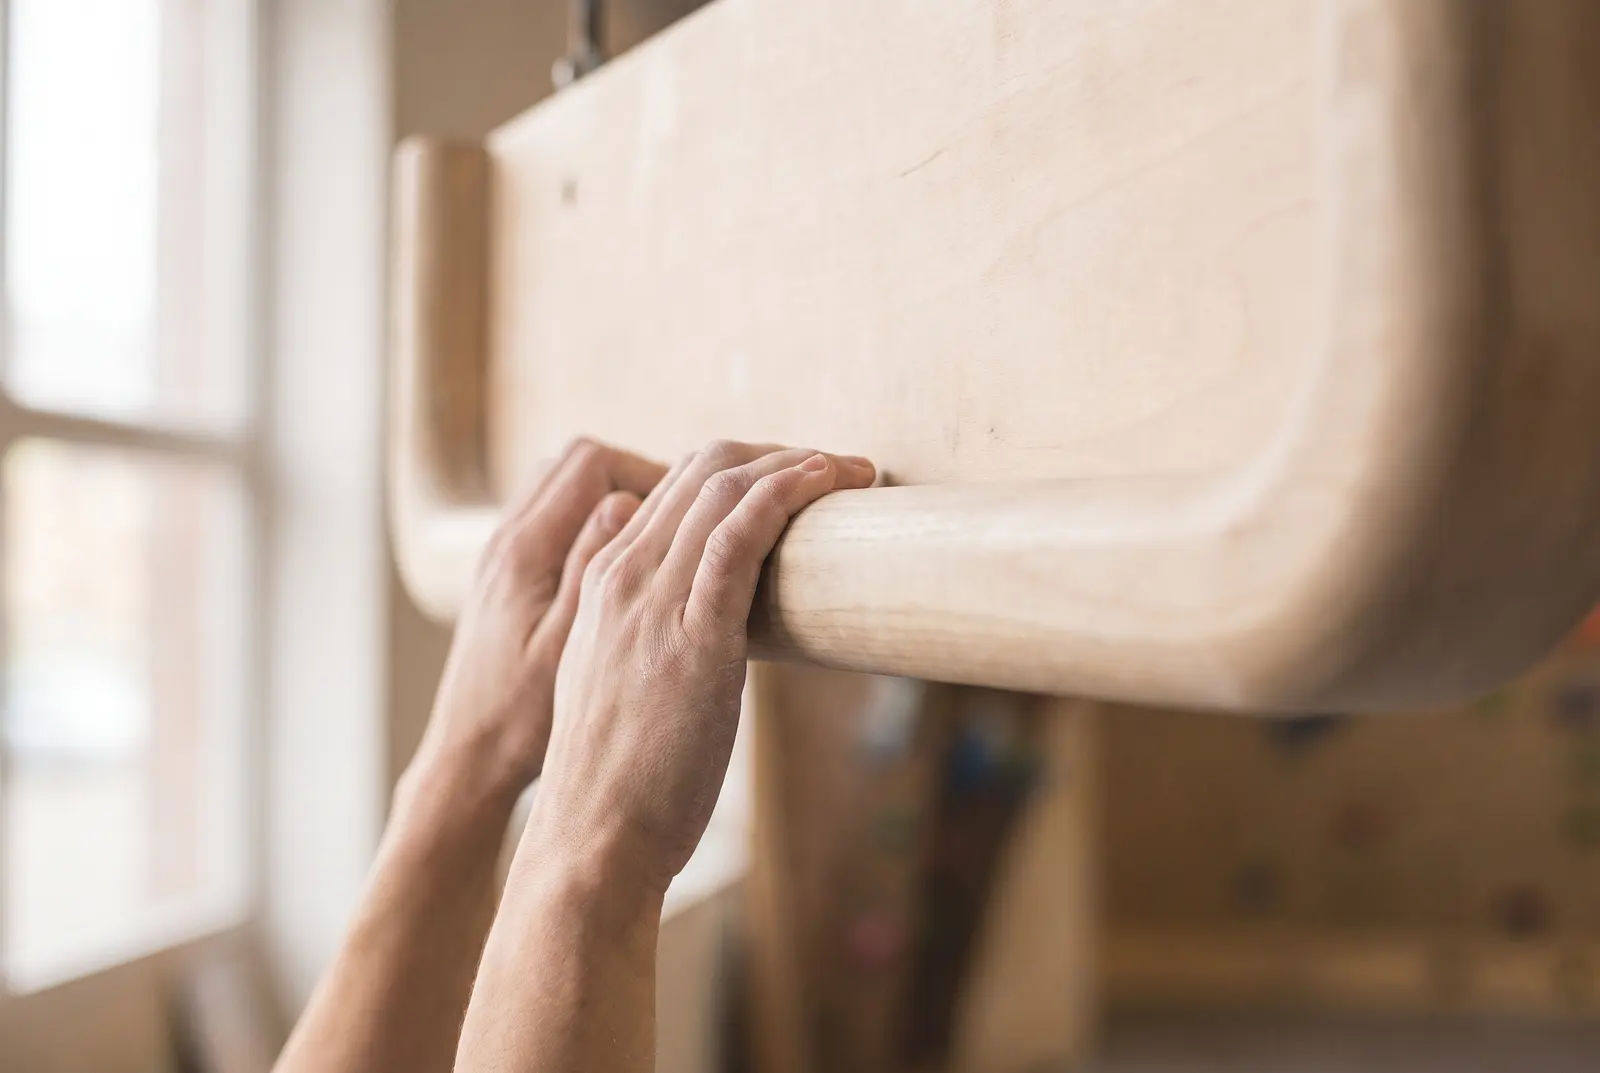
"Crimp" can mean a hold or a way of gripping. Before the hold types, here are the grips you'll use on them:
| Grip | What your fingers do | Use it for | Finger load |
|---|---|---|---|
| Open hand | Fingers fairly straight, finger pads draped over the hold | Slopers, rounded edges, pockets, most jugs | Lowest pulley load |
| Drag (three-finger drag) | Open hand using index, middle and ring finger, little finger off | Rounded edges, slopey crimps | Low |
| Half crimp | Middle finger joints bent, fingertip joints not bent backwards and no thumb lock; measured angles vary (one study averaged about 70°) | Most edges and crimps | Moderate |
| Full crimp | Middle joints bent to roughly 90°, fingertip joints bent backwards, sometimes with the thumb locked over the index finger | Tiny, sharp edges where nothing else holds | Highest pulley load |
| Thumb catch | Thumb pressed against the side of the hold or a nearby bump | Edges and pinches with a usable side | Takes some load off the fingers |
Why the full crimp matters for your A2 pulley
Your finger flexor tendons are held against the bone by ring-like pulleys. In a crimp position, the middle finger joint flexes to roughly 90° and the fingertip joint hyperextends, which makes the tendon pull away from the bone ("bowstring") and press hard on the pulleys. Schweizer (2001) measured in vivo that the A2 pulley was loaded at about three times the force applied at the fingertip during a crimp, with loads up to 116 N.
A biomechanical model by Vigouroux and colleagues (2006) estimated that forces on the A2 pulley were 36 times lower in an open ("slope") grip than in the crimp grip, and about four times lower on the A4 pulley. A 2024 motion-analysis study measured average middle-joint angles of 87° for the crimp, 70° for the half crimp and 39° for the open hand, and notes that less-flexed joints are associated with less pulley strain (Fischer et al.).
Practical takeaways:
- Practise open-hand and half-crimp grips on easy edges so they become your default.
- Save hard full crimping for when you're warm and fresh, not at the end of a session.
- Be careful on dynamic catches of small edges; static numbers in these studies don't capture the extra load of a sudden catch.
- Pain at the base of a finger after a hard crimp is a reason to stop. Read our guide to the A2 pulley injury for warning signs.
Hand holds, one by one
Jug (bucket, handle)
Recognise it: a big, deep hold you can wrap your whole hand around. Mammut calls jugs the most beginner-friendly holds.
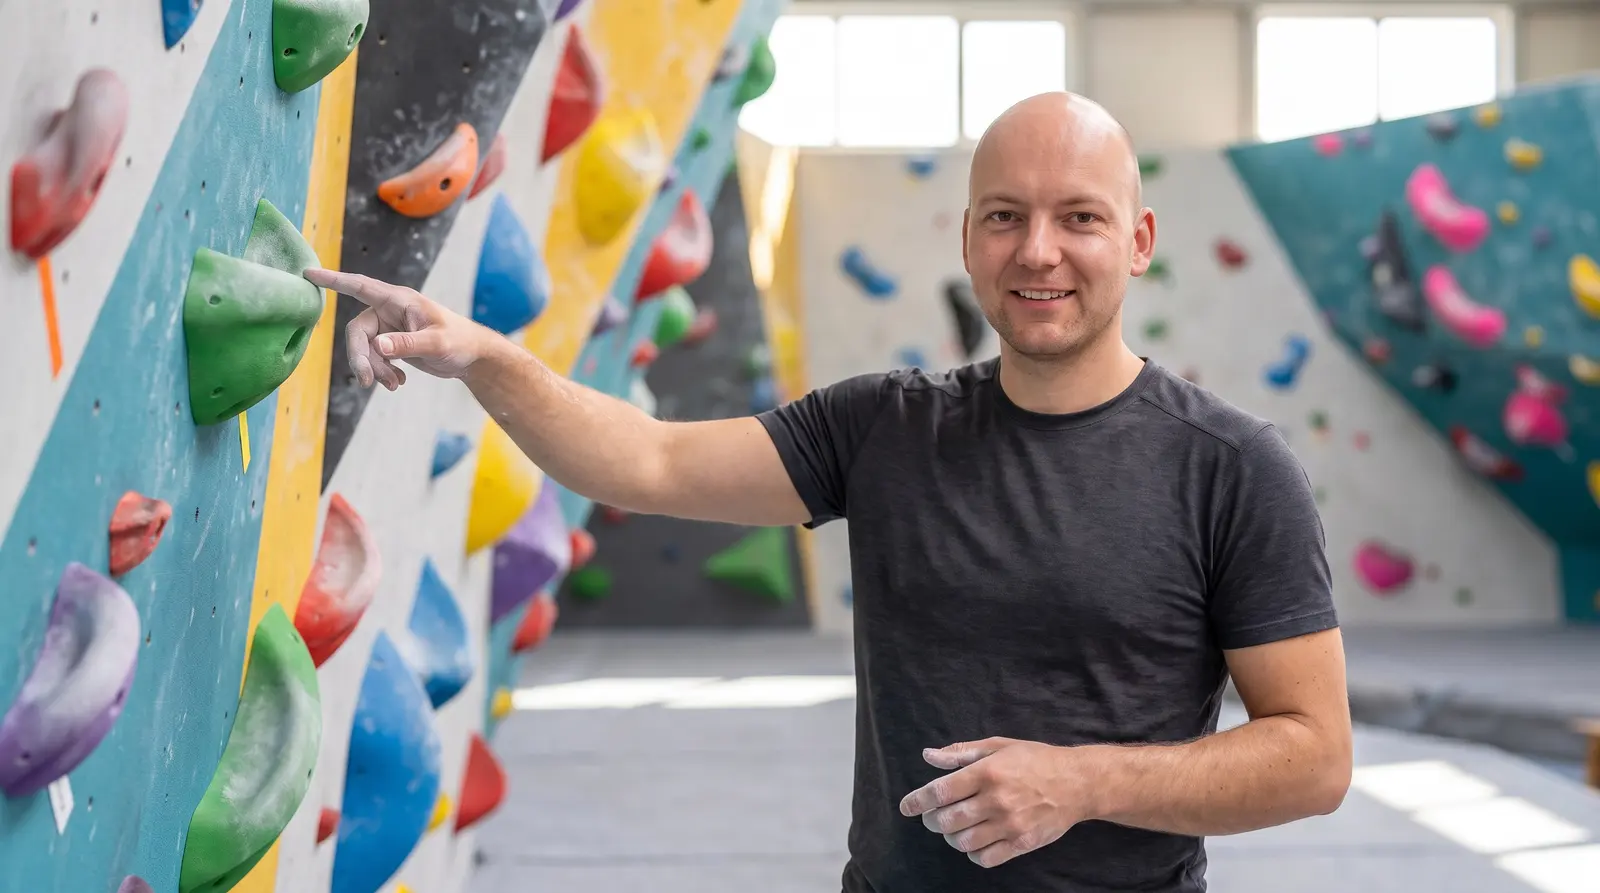
Grip: open hand, fingers hooked deep inside. No need to squeeze hard.
Body position: hang on a straight arm and move your feet up; jugs are where you rest, shake out and plan.
Note: "Jug" is relative. A hold that feels like a jug to a strong climber can feel small to a beginner, and steep angles make every jug harder.
Edge and crimp
Recognise it: a thin, flat or slightly incut ledge. A crimp is an edge "only just big enough to be grasped with the tips of the fingers" (Wikipedia glossary). Wider ledges are usually just called edges.
Grip: open hand on rounded edges, half crimp on most edges, full crimp only on the smallest ones. A thumb catch on the side of the hold can add a lot.
Body position: keep your weight on your feet and your hips close to the wall. Pull down, not out; the more body tension you hold, the less your fingers have to.
Note: small edges are where finger strength shows. They are also where pulley injuries tend to happen (Fischer et al. note that pulley ruptures have been associated with the crimp grip).
Sloper
Recognise it: a rounded hold that slopes towards the ground with little or no lip, so you can't close your fingers around it.
Grip: open hand, maximum skin contact, palm pressed in. Friction is everything, so chalk and clean holds matter.
Body position: position yourself so you pull in the hold's best direction. On most slopers that means staying low and under the hold, arms straight; sideways slopers, compression and mantles need different positions. Mammut suggests staying close to the wall and pressing hard into footholds for counter-pressure.
Note: slopers load the fingers in an open position, which is easier on the pulleys than crimping, but they demand shoulder and core tension.
Pinch
Recognise it: a hold, often vertical, that you have to squeeze between your thumb and fingers.
Grip: thumb on one side, fingers on the other, squeeze. Wide pinches need power; narrow ones need precise finger placement (Mammut).
Body position: pinches often work as sidepulls; turn your hip in towards the hand that's pinching.
Note: pinch strength depends partly on your thumb. If it limits you, pinch blocks or lifting wide plates train it without a hangboard.
Pocket (and mono)
Recognise it: a hole in the rock or hold that fits one to three fingers. A one-finger pocket is called a mono.
Grip: choose your strongest fingers that fit (often middle and ring for two-finger pockets). Mammut advises keeping fingers as neutral as possible, neither hyperextended nor sharply angled.
Body position: keep the pull in line with the pocket so your finger isn't twisted against the edge.
Note: pockets concentrate your body weight on fewer fingers, so load them progressively, especially on dynamic moves. Avoid curling the unused fingers tightly into your palm while the loaded finger stays fairly straight: on monos with the ring or little finger, this position can tear a lumbrical muscle in the palm (Schweizer, 2003).
Sidepull
Recognise it: a vertical hold whose usable edge faces away from you, gripped with a sideways pull towards your body (Wikipedia glossary).
Grip: depends on the hold's shape: crimp, open hand or pinch.
Body position: lean away from it and push with your opposite foot. Laybacking a whole edge with both hands is the extreme version.
Note: sidepulls teach opposition: hands pulling one way, feet pushing the other.
Gaston
Recognise it: a vertical hold whose usable edge faces towards you. You grip it thumb down, elbow out, and push outward, like opening a sliding door. Named after Gaston Rébuffat (Wikipedia glossary).
Grip: fingers on the edge, thumb pointing down.
Body position: keep the elbow out and the hold close to your body; feet need to push in the opposite direction. 99Boulders notes gastons often require a lot of shoulder power.
Note: gastons are hard on the shoulders, so general shoulder strength work, including external rotation exercises, is time well spent.
Undercling (undercut)
Recognise it: a hold whose usable edge faces downward. You grip it palm up and pull upward.
Grip: fingers curled under the lip, often half crimp or open hand.
Body position: get your feet high and push down on them while pulling up on the hold. Underclings get easier as your body rises above them (99Boulders), so they're great for long reaches once your feet are up.
Note: underclings load the biceps a lot; reaching from one with straight legs is usually a sign your feet are too low.
Volume
Recognise it: a large, hollow wooden or plastic shape bolted to a gym wall; smaller holds are often bolted onto it (Wikipedia glossary; 99Boulders).
Grip: mostly pressed and palmed like a giant sloper, or pinched on its edges and arêtes.
Body position: volumes are as much for feet and for pushing as for pulling; Mammut describes them as surfaces to push off, support yourself or jam against.
Note: modern "comp style" problems use lots of volumes and dual-texture holds, where only part of the surface is grippy.
Footholds: edges and smears
Feet are where good climbers save their fingers. 99Boulders splits footholds into two types:
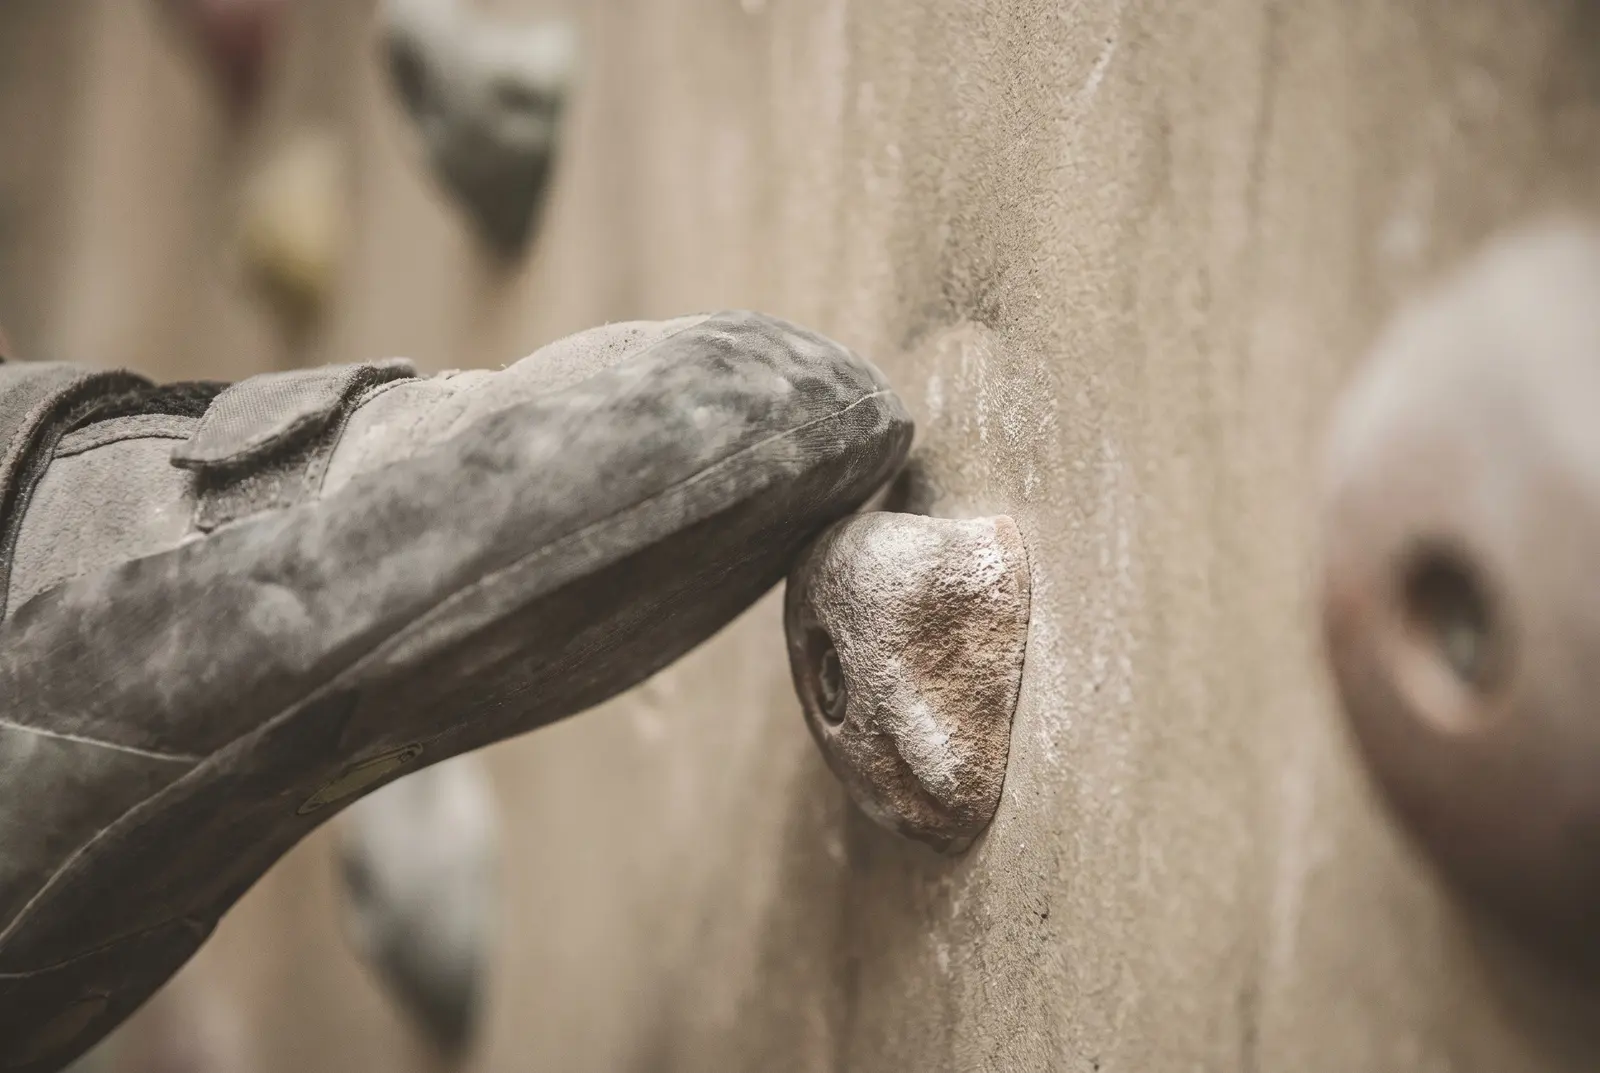
- Edging: standing on a positive foothold with the edge of your shoe, usually the inside edge near the big toe. Look at the foothold until the shoe is placed, then weight it.
- Smearing: pressing the sole flat against the wall or a sloping surface where there's no real hold, relying on friction (Wikipedia glossary). Drop your heel and keep weight over the foot; leaning in makes smears slip.
Other foot uses include heel hooks and toe hooks, where the foot pulls rather than pushes. Small or slippery footholds force your hands to hold more, so footwork is a finger-protection strategy as much as a technique one. For more on that, see how to get better at bouldering.
Comparison table: climbing holds at a glance
| Hold | Looks like | Best grip | Key body position | Main demand |
|---|---|---|---|---|
| Jug | Big, deep handle | Open hand, fingers hooked | Straight arms, rest | Low |
| Edge / crimp | Thin ledge | Half crimp; open hand if rounded | Hips in, weight on feet | Finger strength, pulleys |
| Sloper | Rounded, no lip | Open hand, palm in | Low, under the hold | Friction, body tension |
| Pinch | Squeezable feature | Thumb vs fingers | Hip turned in | Thumb and grip strength |
| Hole for 1–3 fingers | Strongest fingers, neutral | Pull in line with pocket | Single-finger strength | |
| Sidepull | Edge facing away | Varies | Lean away, opposite foot pushes | Opposition |
| Gaston | Edge facing you | Thumb down, elbow out | Push out, feet oppose | Shoulder strength |
| Undercling | Edge facing down | Palm up | Feet high, stand up | Biceps, core |
| Volume | Large bolted shape | Palm, press, pinch edges | Push and stand on it | Balance, tension |
| Foot edge / smear | Small ledge / blank wall | Shoe edge / flat sole | Weight over the foot | Precision, trust |
Training for different holds
The best training for holds is climbing on lots of different ones. If your gym or home climbing wall lets you choose, pick problems built on the hold types you avoid. From a strength-coach view, a few principles apply:
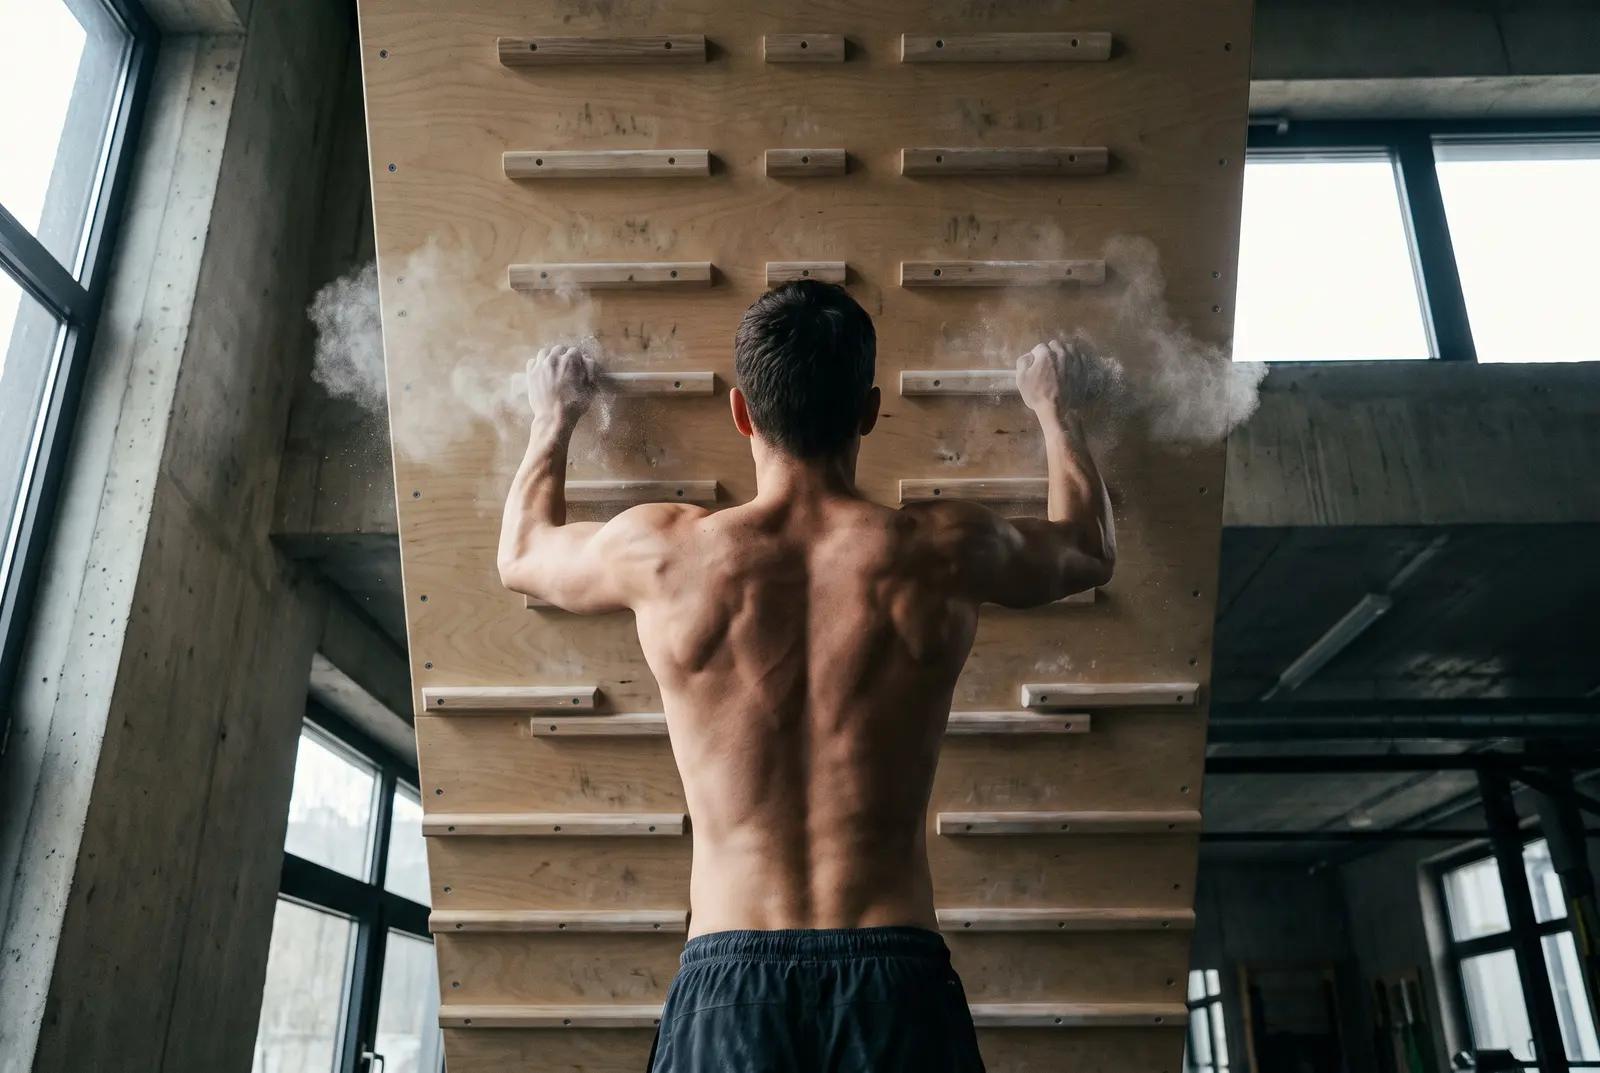
- Specificity: fingers get strong in the positions you train. If you only ever hang open hand, half crimps will lag, and vice versa.
- Progress slowly: tendons and pulleys adapt more slowly than muscles. Add finger load gradually across weeks, not sessions.
- Train the half crimp and open hand first: they transfer well to most holds and keep pulley load lower than the full crimp.
When you're ready for structured finger work, start with our hangboard for beginners guide. If you'd rather not use a board yet, there are good ways to build finger strength without a hangboard, from easy edge traverses to lifting pinch blocks.
The short version: learn to recognise each hold from the ground, choose the grip before you touch it, let your body position do the work, and treat small edges and pockets with care.
FAQ
Is crimping bad for your fingers?
Crimping is a normal part of climbing, but the full crimp puts far more load on the finger pulleys than an open-hand grip. A biomechanical model estimated A2 pulley forces about 36 times lower in an open (slope) grip than in a crimp. Use open hand or half crimp where you can, and save hard full crimps for when you're warm and fresh.
What is the easiest climbing hold?
The jug, also called a bucket or handle. It's big and positive enough to wrap your whole hand around, which is why beginner problems use so many of them.
What is the difference between a gaston and a sidepull?
Both are vertical holds. On a sidepull the usable edge faces away from you and you pull it towards your body. On a gaston the edge faces towards you, with the thumb down and elbow out, and you push it away, which takes a lot of shoulder strength.
Should beginners train on a hangboard?
Not right away. For new climbers, climbing itself already loads the fingers, and tendons and pulleys adapt more slowly than muscles. Most people are better off building technique on varied holds first and adding structured finger training later, conservatively.
Sources
- Schweizer A. Biomechanical properties of the crimp grip position in rock climbers. J Biomech (2001)
- Vigouroux L, Quaine F, Labarre-Vila A, Moutet F. Estimation of finger muscle tendon tensions and pulley forces during specific sport-climbing grip techniques. J Biomech (2006)
- Fischer G et al. Motion Analysis of the Wrist and Finger Joints in Sport Climbing. Bioengineering (2024)
- Mammut, What types of climbing and bouldering holds are there?
- Danaan Markey, Climbing Moves, Holds, & Technique: The Beginner's Guide, 99Boulders (2022)
- Wikipedia, Glossary of climbing terms