How to Start Bouldering: Your First Session and First Months
 Petr Hess, strength & conditioning coach
Updated 2 Nov 2026 · 11 min read
Key takeaways
Best for: Complete beginners planning their first bouldering gym sessions
- Start indoors: sign the waiver, rent shoes and chalk, and ask staff for the short first-timer introduction.
- Warm up for 10–15 minutes, climb the easiest grade, and rest 2–3 minutes between attempts on anything hard.
- Keep first sessions to 60–90 minutes and stop when your movement gets sloppy, not when you can't hold on.
- Two sessions a week with a rest day between is a good starting dose; add a third only as recovery allows.
- Practise landing on both feet with bent knees and rolling back; in one survey of injured boulderers, ankle sprains were most common.
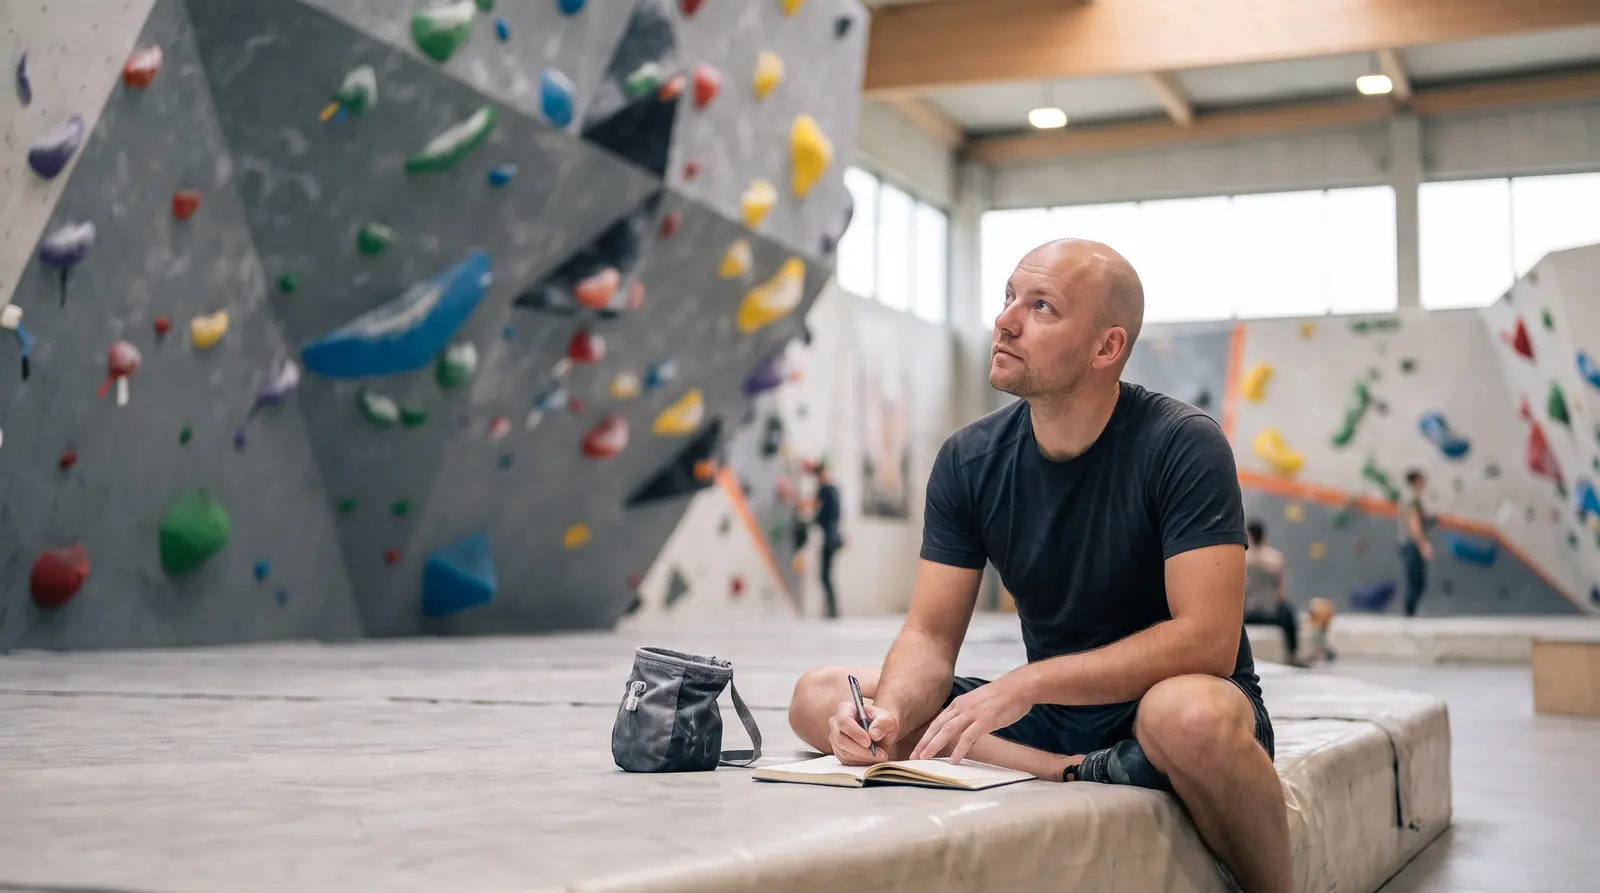
To start bouldering, go to an indoor bouldering gym, sign the waiver, rent climbing shoes and chalk, and ask staff for the short introduction most gyms give first-timers. Then warm up, climb the easiest problems (usually labelled VB, V0 or level 1), rest generously between attempts and stop after about an hour, before your fingers and forearms are wrecked. Two sessions a week for the first couple of months is enough to improve quickly.
This guide walks through everything from picking a gym to your first months of progress. I'm a strength and conditioning coach, not a climbing coach; bouldering is my favourite complement to my own training. So beyond the practical steps, you'll get the S&C angle on how to dose your sessions so you keep coming back instead of getting sore, sore-fingered or injured.
What is bouldering?
Bouldering is climbing short walls or rocks, usually only a few metres high, without ropes or harnesses. Instead of a rope, you fall onto thick padded mats indoors, or onto portable crash pads outdoors. Each climb is called a problem, because you have to work out the moves like a puzzle.
That's why bouldering is the easiest way into climbing for most people. You don't need a partner, you don't need to learn knots or belaying, and the gear list is short: shoes and chalk. It's also very social: people try the same problems and swap ideas between attempts, standing clear of the landing zones. If some of the words in this guide are new to you, keep our bouldering terms glossary open in another tab.
Step 1: Choose a gym
Start indoors. Gyms have padded floors, problems set from very easy upwards, and staff who can answer questions. Outdoor bouldering is wonderful but adds landing zones, weather, rock types and access rules; save it for later (see outdoor bouldering for beginners when you're ready).
If you have a choice, a dedicated bouldering gym is usually better for beginners than a big rope-climbing centre with a small bouldering corner, simply because there are many more easy problems. What to check before you go:
| Check | Why it matters |
|---|---|
| Beginner intro or taster session | A guided first hour covers safety and basic technique |
| Online waiver | Filling it in at home saves time at the desk |
| Shoe and chalk rental | Almost universal, but check price and whether socks are required |
| Quiet hours | Weekday daytimes are calmer; evenings after work are usually busiest |
| Intro offers or 10-visit cards | Cheaper than single entries if you go twice a week |
| Age rules for kids | Gyms set minimum ages and supervision rules |
Step 2: Waiver, registration and induction
Every gym will ask you to sign a waiver or visitor agreement before you climb. Many let you do this online in advance. For example, River Rock Climbing requires a completed Visitor Agreement for everyone in the active climbing areas, and minors need one signed by a parent or guardian.
Next, tell the front desk it's your first time. Most gyms then give you a short safety introduction. River Rock describes a basic orientation tour of about 10–15 minutes for all first-time visitors; Boulderkeskus in Helsinki says simply that staff will "give you a short introduction". Listen carefully: this is where you learn the house rules on falling, where to wait and how problems are marked.
Step 3: Rent shoes and chalk
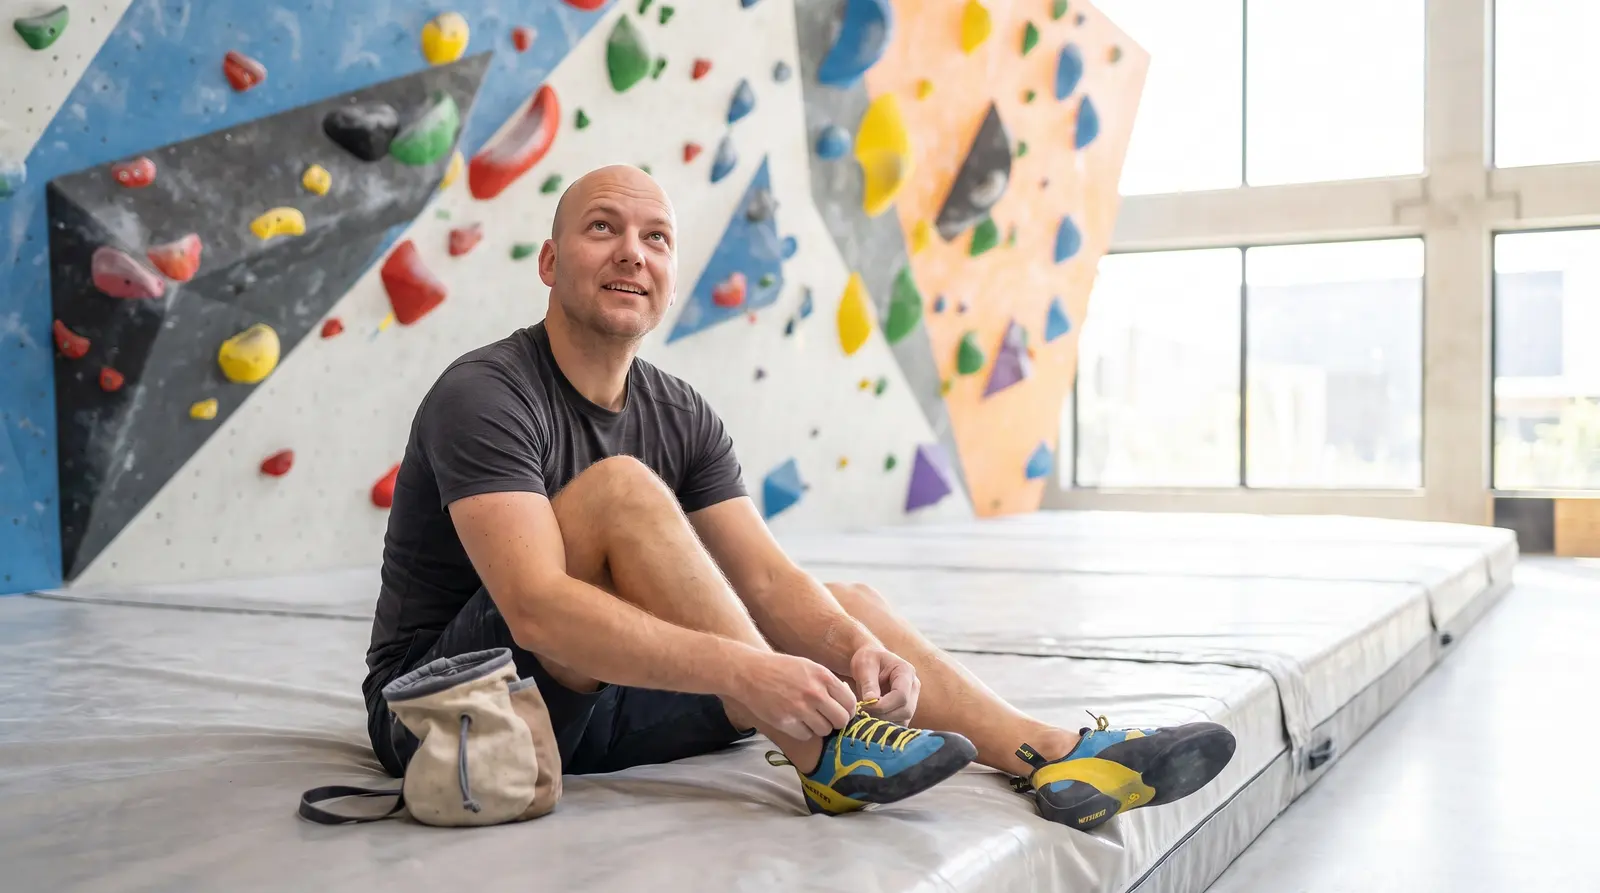
You don't need to buy anything for your first sessions. Climbing shoes and chalk can be rented at almost every bouldering gym, and some gyms make the first rental free (Boulderkeskus does for first-timers).
- Shoes: rental shoes are flat and comfortable by design. Sizing varies between brands, so tell staff your usual size and judge by fit rather than the number: snug, with your toes touching the end, but not painful. Don't automatically size down. If your toes are folded hard or anything hurts, ask for another pair.
- Socks: bring thin socks. Many gyms recommend or require them with rentals for hygiene; River Rock, for instance, disinfects shoes after each use but still suggests socks.
- Chalk: chalk keeps your hands dry so you grip better. A chalk bag or a shared bucket is fine; use it before you start a problem, not every few seconds.
Clothing is simple: stretchy sports clothes you can lift your knees high in. More detail in our guide on what to wear bouldering.
Step 4: Your first session, step by step
1. Warm up (10–15 minutes)
Climbing loads your fingers, shoulders and forearms hard from the very first move, so a warm-up is not optional. Do a few minutes of light cardio (skipping, brisk cycling, or just climbing up and down the easiest wall slowly), then arm circles, shoulder and wrist mobility, and a handful of very easy problems. Our climbing warm-up lays out a full routine you can copy.
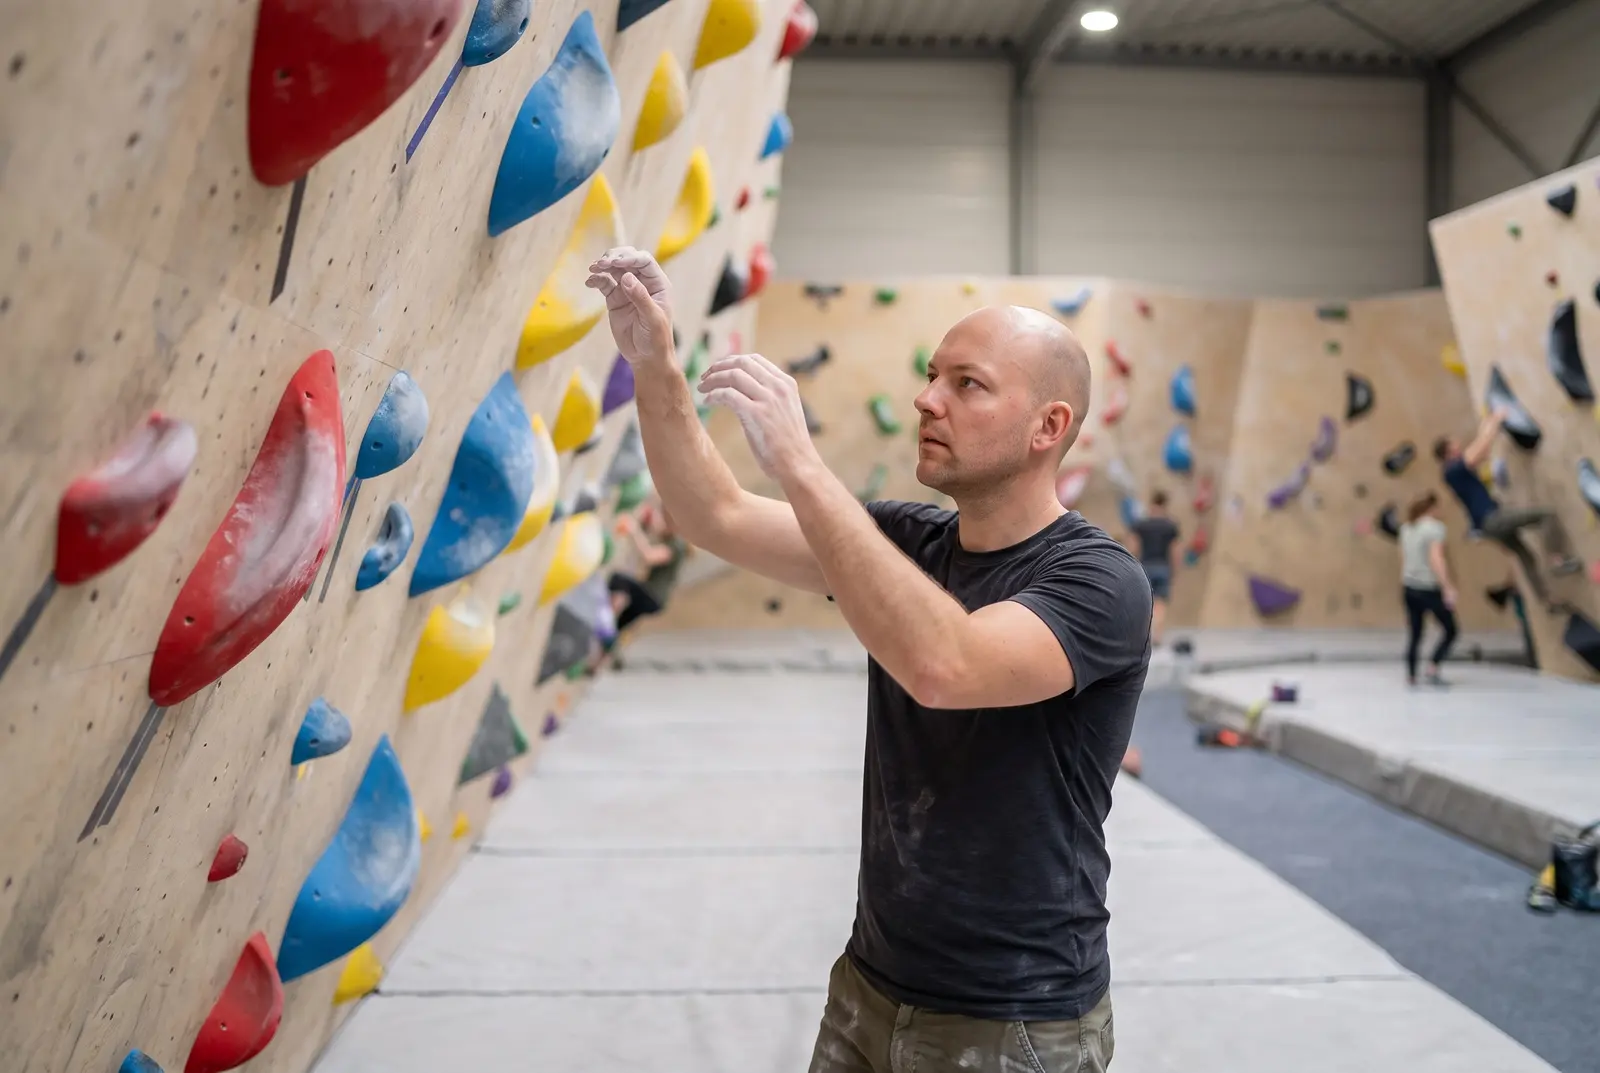
2. Learn how problems are marked
In most gyms, every problem uses holds of one colour. You may use only holds of that colour, plus any features the gym says are open to everyone. Boulderkeskus, for example, lets you use volumes (the big wooden or fibreglass shapes) on any problem unless marked otherwise.
- Start: marked with tape or a tag next to the start holds. Begin with both hands on the start holds and your feet off the mat.
- Finish: the top hold, often marked with tape. To count, you usually have to hold it with both hands in a controlled way. A quick slap before falling doesn't count.
- Grade: shown on a tag at the start, or by the colour itself. A poster near the walls usually explains the gym's scale.
Gyms use different grading systems. Some use the V-scale (VB or V0 for the easiest), some use Font grades (from 3 or 4 upwards), and others use their own colour or number systems, such as levels 1 to 8. Grades also vary a lot between gyms, so treat them as a rough guide. Our guide to climbing grades explained covers how the systems compare.
3. Check the landing zone, then climb easy problems
Before you pull on, look below and behind you. The most important safety rule in any bouldering gym is that nobody should be underneath you when you might fall. Wait at the edge of the mat, not on it, while others climb.
Start with the easiest grade the gym has. Look at the problem from the ground first: find the start, the finish and roughly which holds you'll use. Then climb. Some tips that make a big difference straight away:
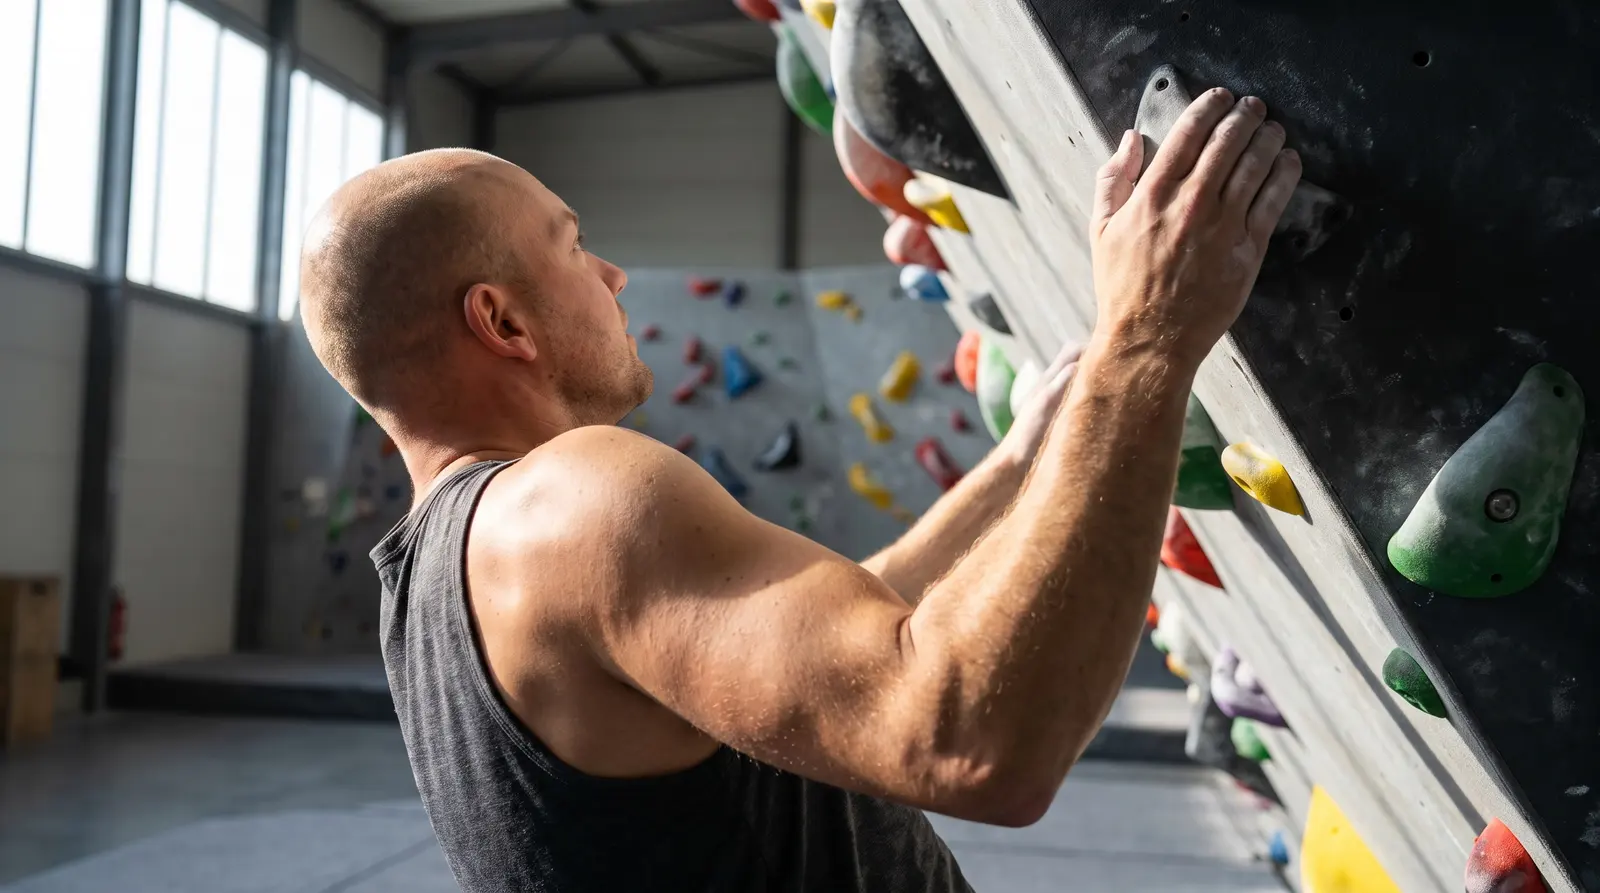
- Look at your feet. Place each foot deliberately, on the tip of your shoe, and push with your legs. Your legs are far stronger than your arms.
- Keep your arms straight when you can, and hang on your skeleton instead of holding a bent-arm pull-up.
- Don't over-grip. Squeezing every hold as hard as possible burns your forearms in minutes.
- Climb down easy holds instead of jumping off from the top whenever you can.
The holds come in many shapes: jugs, crimps, slopers, pinches and pockets. Each asks for a slightly different grip. Our guide to types of climbing holds shows how to use each one.
4. Rest more than you think you need
Beginners usually climb too much too fast and are pumped (forearms burning, hands opening by themselves) within twenty minutes. Rest 2–3 minutes between attempts on anything that feels hard, and longer after a problem that left your forearms burning. Watching others on the mats is part of the rest, and a good way to learn moves.
5. Stop while you're still climbing well
For a first session, 60–90 minutes is plenty. Finish when your movement gets sloppy or your skin feels raw, not when you physically can't hold on. Your fingers, skin and tendons take longer to adapt than your muscles. Expect sore forearms and maybe tender fingertips the next day; that's normal.
Falling: the basics
Falling is a normal part of bouldering, but it's also where most injuries happen. In a 2025 survey of 245 people injured in indoor bouldering falls, two-thirds of injuries were to the lower limbs and ankle sprains were the single most common injury (Beurienne et al.). Most of those falls were involuntary and most climbers landed feet first. Because the survey only included injured climbers, it can't say how risky a given fall is or prove that practice prevents injuries, but it does show unplanned landings are common, which is a good reason to practise controlled ones.
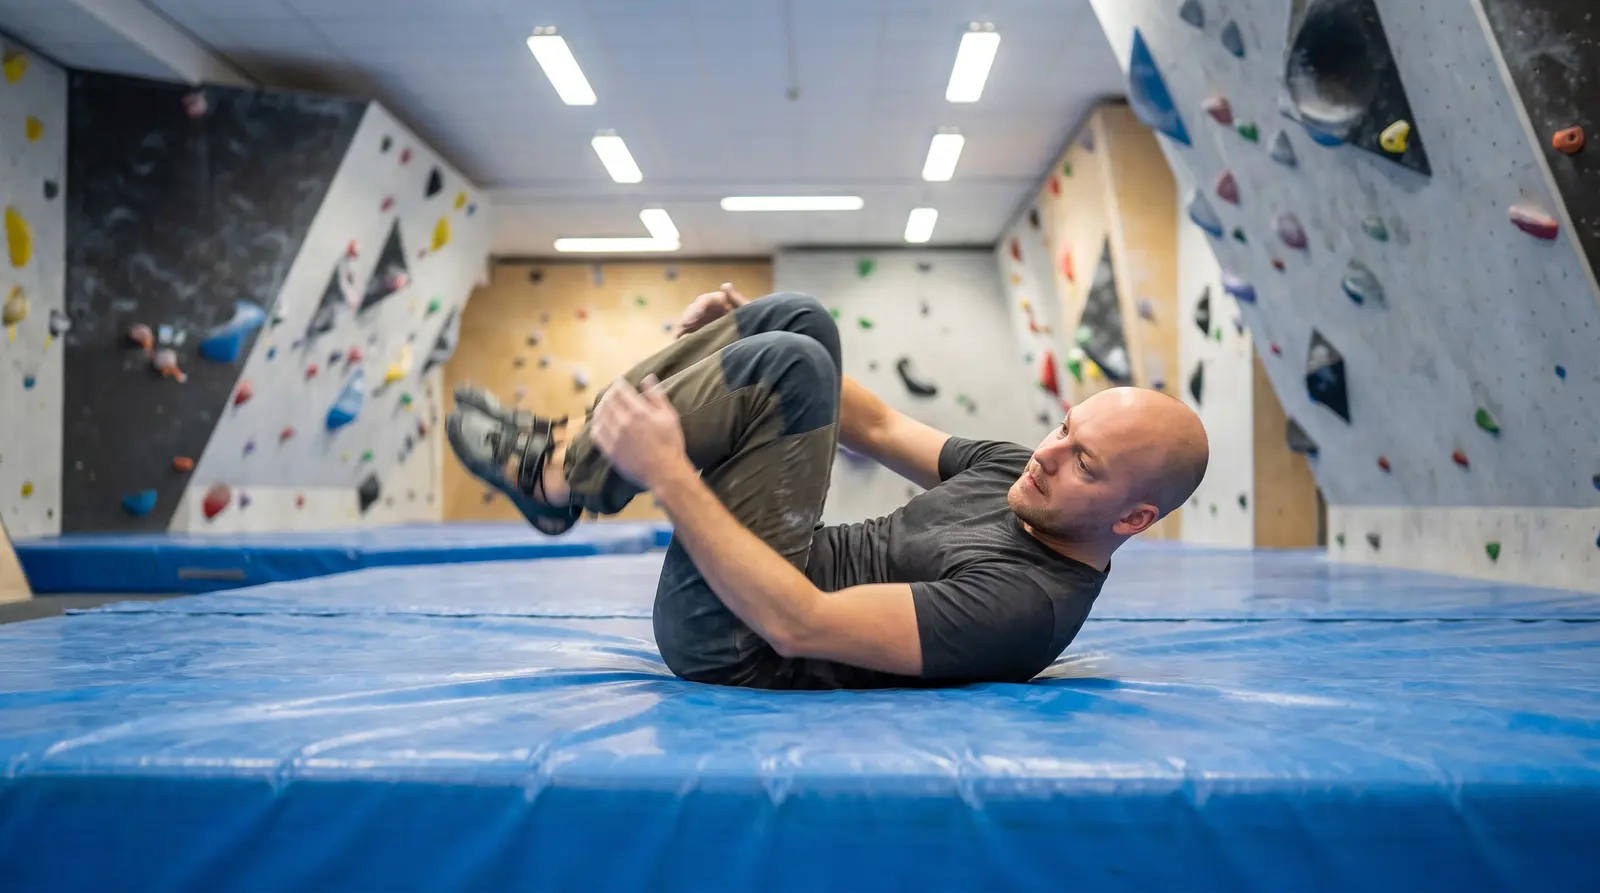
The short version: when you come off, land on both feet with your knees bent, then let yourself roll back onto your bottom and back. Keep your arms in; don't reach back with straight arms to catch yourself. Practise small controlled falls from low down on your first visits. Our full guide to how to fall when bouldering covers falls from higher up and the scenarios to watch out for.
Etiquette: the basics
Gyms are friendly places, and a few unwritten rules keep them that way:
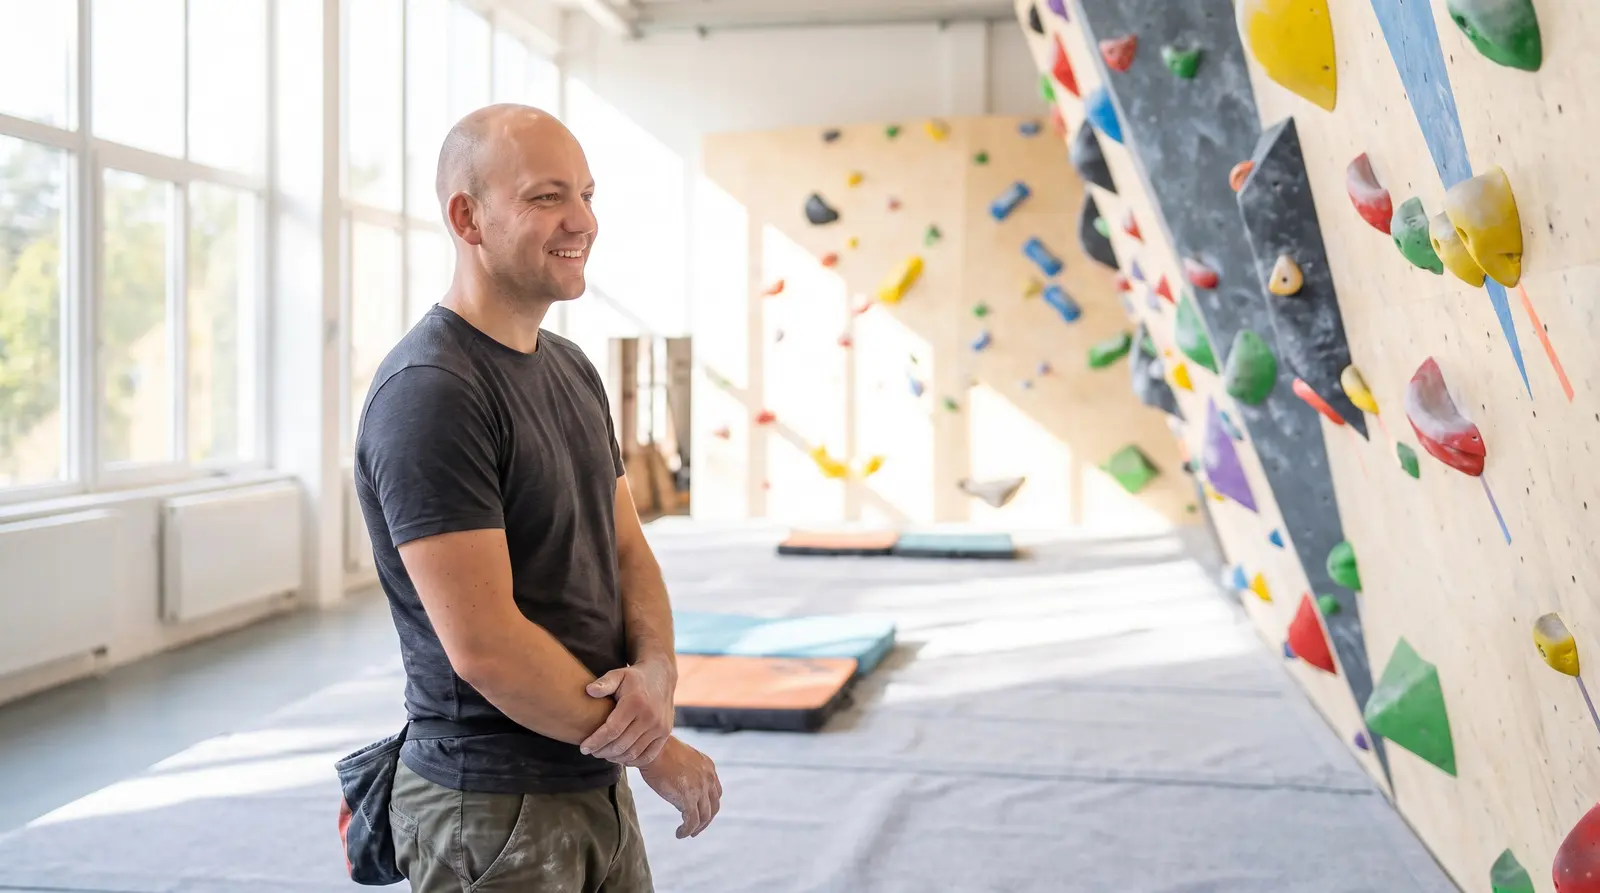
- Never walk or stand under someone who is climbing. Keep bags, bottles and brushes off the mats.
- Take turns on popular problems. One attempt, then step back and let others go.
- If someone else has already started a problem that crosses yours, wait.
- Don't give advice ("beta") unless someone asks. Ask before you spot someone.
- Brush the holds when they get greasy, and tell staff about loose holds.
Read our bouldering etiquette guide for the full list.
How often should beginners go?
For most people starting from scratch, two sessions a week with at least one rest day between them is a good starting dose. Add a third session gradually, based on how well you recover (no lingering finger, elbow or shoulder soreness between sessions), not just on the calendar. Skin that no longer feels raw doesn't by itself mean your tendons are ready.
From a strength and conditioning point of view, the logic is simple. Muscles adapt to a new sport within weeks, but tendons and the finger pulleys adapt much more slowly. Beginners feel strong and motivated, climb four or five days in a row, and end up with sore fingers or elbows. Building up gradually is boring but it's how you stay on the wall. For more detail on finding your frequency, see how often should you climb.
| Phase | Sessions per week | Session length | Focus |
|---|---|---|---|
| First 2–4 weeks | 1–2 | 60–90 min | Easiest grades, falling practice, footwork |
| Months 1–3 | 2–3 | 75–120 min | Lots of easy and moderate problems, varied styles |
| Months 3–6 | 2–3 (up to 4 if recovering well) | 90–120 min | Trying harder problems over several sessions |
This table is a sensible starting framework, not a rule; move up only as fast as your recovery allows. If your fingers ache the morning after or your skin keeps splitting, drop a session. Don't climb through finger pain: pain that persists or keeps coming back is worth getting checked, and severe pain, swelling or a pop felt or heard in a finger needs prompt medical advice.
What progress to expect in the first months
The first months are the fun part: you improve almost every week. Most of that early progress is technique, not strength. You learn to trust your feet, to keep your hips close to the wall and to read moves before you try them.
A typical pattern, though bodies and backgrounds vary a lot:
- First sessions: the easiest grade feels like a challenge; you finish some problems and fall off others.
- First month or two: the easiest grade feels comfortable and you start finishing problems one or two levels up.
- Months two to six: progress continues, but harder problems start to take several sessions. That's normal, and learning to work a problem over multiple visits is a skill in itself.
Don't chase grades. Gym grades are inconsistent, and finishing problems in many different styles (slab, overhang, crimps, slopers) is a better sign of progress than one hard tick. When you want to speed things up, our guide on how to get better at bouldering has 17 practical tips.
When to buy your own climbing shoes
A good rule of thumb: buy your first pair once you're going regularly, usually after a month or so of climbing at least once a week. By then you know you like the sport, and rental costs add up quickly. Your own shoes also fit better, and better fit means more precise footwork.
Ready for a second, more technical pair? Compare our picks for the best bouldering shoes.
What to look for in a first pair:
- Flat (neutral) shape, not aggressively downturned.
- Snug but not painful. You should be able to wear them for a whole session with short breaks.
- Durable rubber, because beginners drag their feet and wear through soles faster.
- Velcro or laces: Velcro is quicker on and off between problems; laces allow a more precise fit.
Our guide to the best climbing shoes for beginners compares popular first-pair models and explains sizing. Beyond shoes, your own chalk bag is a cheap, useful second buy; everything else can wait.
Your first-session checklist
| Before you go | At the gym | After |
|---|---|---|
| Fill in the waiver online | Ask for the beginner introduction | Stretch lightly, eat something |
| Pack stretchy clothes and thin socks | Rent shoes and chalk | Expect sore forearms the next day |
| Bring water and a snack | Warm up for 10–15 minutes | Take at least one rest day |
| Take off rings and watches | Climb the easiest grade, rest 2–3 min between tries | Book your next session |
| Trim fingernails short | Practise a few low, controlled falls | Look up the moves you didn't understand |
Next step: bouldering outdoors
Once you're comfortable in the gym, outdoor bouldering is a natural next step. Rock is different from plastic: holds aren't marked, landings are uneven and you need crash pads and spotters. Go with experienced friends or a guide at first, and read outdoor bouldering for beginners before your first trip.
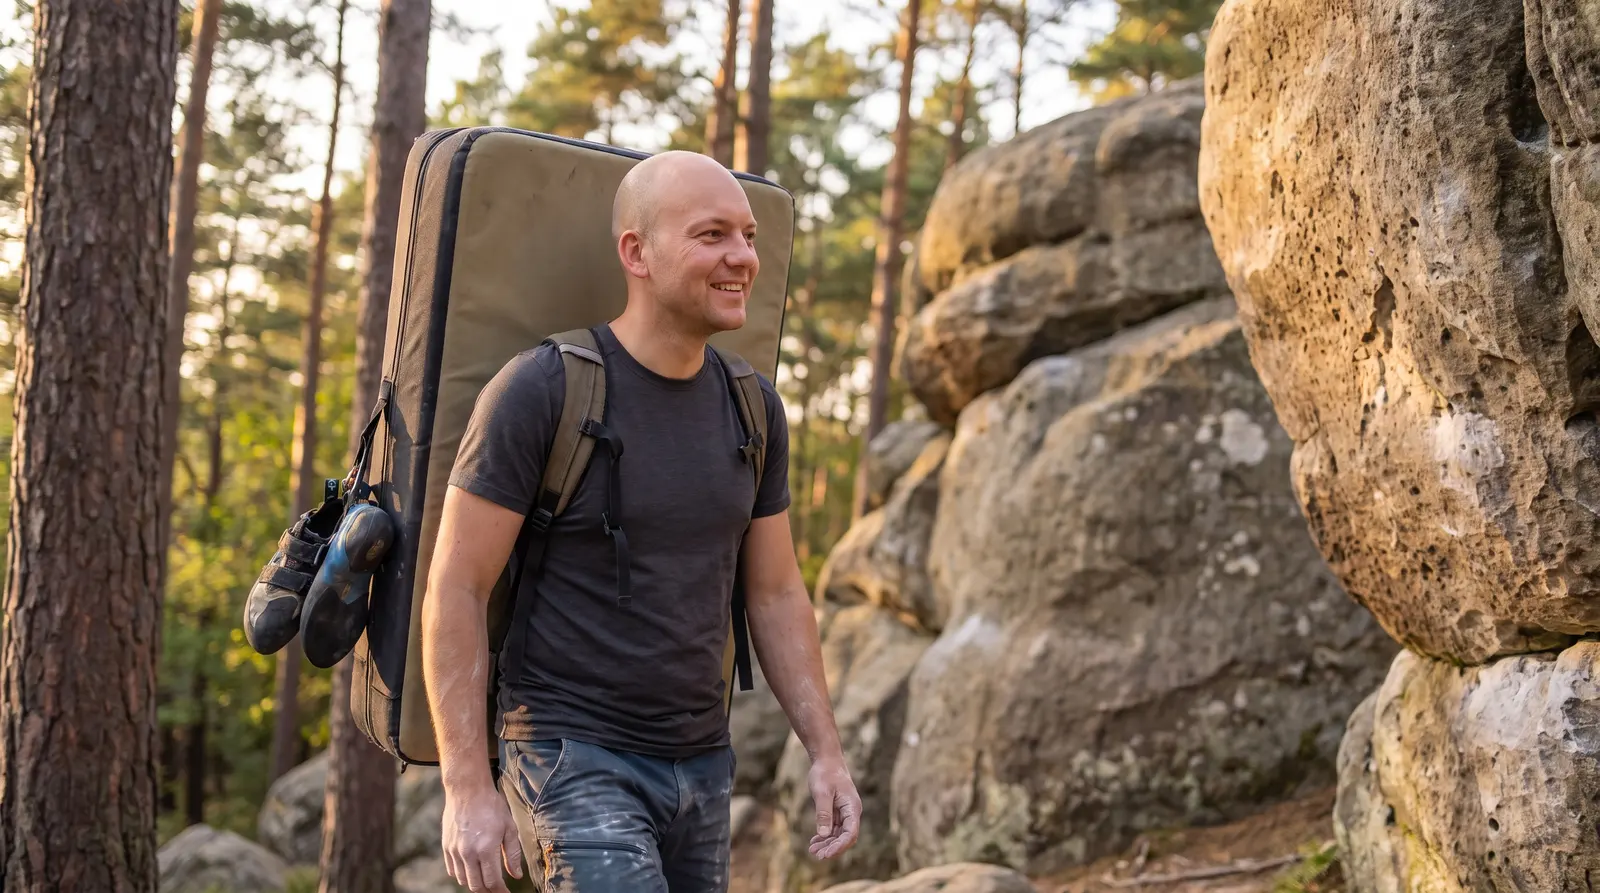
The short version: pick a bouldering gym, fill in the waiver, rent shoes and chalk, ask for the intro, warm up, climb the easiest problems and rest a lot. Go twice a week, learn to fall, look at your feet and be patient with your fingers. Progress varies, but with consistent practice your technique and confidence will grow, and problems that look impossible today will start to feel within reach.
FAQ
Can you go bouldering for the first time on your own?
Yes. Most gyms are set up for complete beginners: you sign a waiver, rent shoes and get a short introduction from staff. Going with a friend is more fun and makes it easier to ask for help, but it is not required. Outdoors is different: don't go alone on your first trips.
Do I need to be fit or strong to start bouldering?
No. Gyms set problems at the easiest grades with big holds and good footholds, so anyone who can climb a ladder can usually finish a few. Strength comes from climbing regularly. Technique and footwork matter more than pulling power at the start.
What should I bring to my first bouldering session?
Comfortable, stretchy sports clothes, thin socks if you will wear rental shoes, a water bottle and a small snack. Shoes and chalk can usually be rented. Fill in the gym's waiver online beforehand if it offers that.
How long should a first bouldering session be?
Around 60 to 90 minutes is plenty for most people. Your forearms, fingers and skin will tire long before you feel out of breath, so stop while your movement is still controlled rather than climbing until you can't hold on.
Sources
- Boulderkeskus, First time climbing at Boulderkeskus
- Boulderkeskus, Indoor climbing rules
- River Rock Climbing, New climbers: first-visit guide
- Czulak N, Urban Sports Club, Bouldering for beginners: How to get started (2025)
- Beurienne E et al. The art of falling: identifying the falls scenarios associated with bouldering injuries. Front Sports Act Living (2025)