Outdoor Bouldering for Beginners: How to Go From Gym to Rock
 Petr Hess, strength & conditioning coach
Updated 2 Nov 2026 · 10 min read
Key takeaways
Best for: Gym boulderers planning their first trip onto real rock
- Start on short, easy problems with flat landings, climbing one or two grades below your indoor level.
- Before each problem, find the descent, cover the whole fall zone with pads and close any gaps between them.
- A spotter guides the climber's hips and upper body so they land feet first; the job isn't to catch them.
- Only climb sandstone when it's completely dry; the BMC says that can take 24 hours or more after rain.
- Follow Leave No Trace: park legally, stay on trails, carry pads, pack everything out and brush off chalk.
Outdoor bouldering for beginners comes down to three things: choose short, easy problems with flat landings, protect every fall with crash pads and a spotter, and leave the rock and the area exactly as you found them. Expect outdoor grades to feel harder than your gym, climb one or two grades below your indoor level, and never climb on wet rock. Your first day should be about learning to read rock, fall well and top out, not about ticking hard problems.
I'm a strength and conditioning coach, not a climbing guide. This guide pulls together advice from access organisations, land managers and experienced climbers (sources at the bottom), plus a training point of view on load and safety. If you can, make your first trip with someone who already climbs outside.
What's different outside?
Indoor bouldering is a great foundation, but a few things change the moment you leave the gym.
| Gym | Outdoors | What it means for you |
|---|---|---|
Holds marked by colour | No markings; you read the rock and a guidebook description | Spend time looking before you climb; try several sequences |
Generous, consistent gym grades | Grades vary by area and rock type, and often feel stiff | Start one or two grades below your indoor level |
Big, obvious footholds | Small edges, smears and texture | Footwork and trusting friction matter more than pulling |
Finish by matching the top hold, then drop | Finish by climbing onto the top of the boulder (top-out) | Practise mantels and check the way down first |
Wall-to-wall padded floor | Only the pads you carry, on uneven ground with rocks and roots | Pad placement and spotting become your safety system |
Same conditions every day | Friction depends on temperature, humidity, sun and rain | Plan around the weather and the time of day |
Grades
Outdoor problems are usually graded on the V-scale in North America and the Font scale in Europe, and each area has its own feel. A gym V4 climber may struggle on an outdoor V2, especially on an unfamiliar rock type. Our guide to climbing grades explained covers how the scales work and why they vary. Don't judge your day by the numbers.
Friction and rock types
Every rock type climbs differently. Sandstone tends to be rough with rounded holds and slopers, but it can be soft and fragile. Granite often means small crystals, slabs and cracks, and it can be sharp on the skin. Limestone gives pockets and edges and can be polished in popular spots. Gritstone (in the UK) is coarse and very frictional. Friction is usually better when the rock is cool and dry, which is why many climbers prefer cool mornings, evenings and the spring and autumn seasons.
Top-outs and descents
Most outdoor problems finish on top of the boulder. Getting from the last hold onto a rounded top (a mantel) is often the scariest part of a problem, and it's a skill gyms rarely train. Before you start, walk around the boulder, find the descent route, and if it involves a downclimb or a jump, put a pad there too. Climbing House's beginner guide stresses planning the descent in advance, because some boulders need a technical downclimb.
Landings
Landings vary from flat sand to sloping ground, rocks, roots and drops. A bad landing turns an easy problem into a risky one. For a first day, only climb problems where the whole fall zone can be covered with pads.
What you need
| Item | Why | Beginner tip |
|---|---|---|
Crash pad(s) | Your main fall protection | One per person in a small group is a good start; rent or borrow before buying. See how many crash pads you need |
Climbing shoes | Same as indoors | A comfortable pair you can wear for many attempts beats a painful, aggressive pair |
Chalk and chalk bag | Dry hands | Use a little and brush it off afterwards |
Soft brush | Clean holds and remove chalk | Soft bristles only; avoid wire brushes |
Shoe rag or mat | Wipe dirt and sand off your soles before each attempt | Any old towel works |
Finger tape and skin kit | Cover cuts and splits, file rough skin | See our climbing skin care guide |
First-aid kit | Cuts, scrapes, sprains | Plasters, wound wipes, a bandage, painkillers, any personal medication |
Guidebook or app | Find areas, problems, grades, descents and access notes | Read the access section before you go |
Layers, water, food, rubbish bag | Comfort and Leave No Trace | Shade under boulders gets cold fast |
Picks for the small kit: chalk buckets, brushes and chalk.
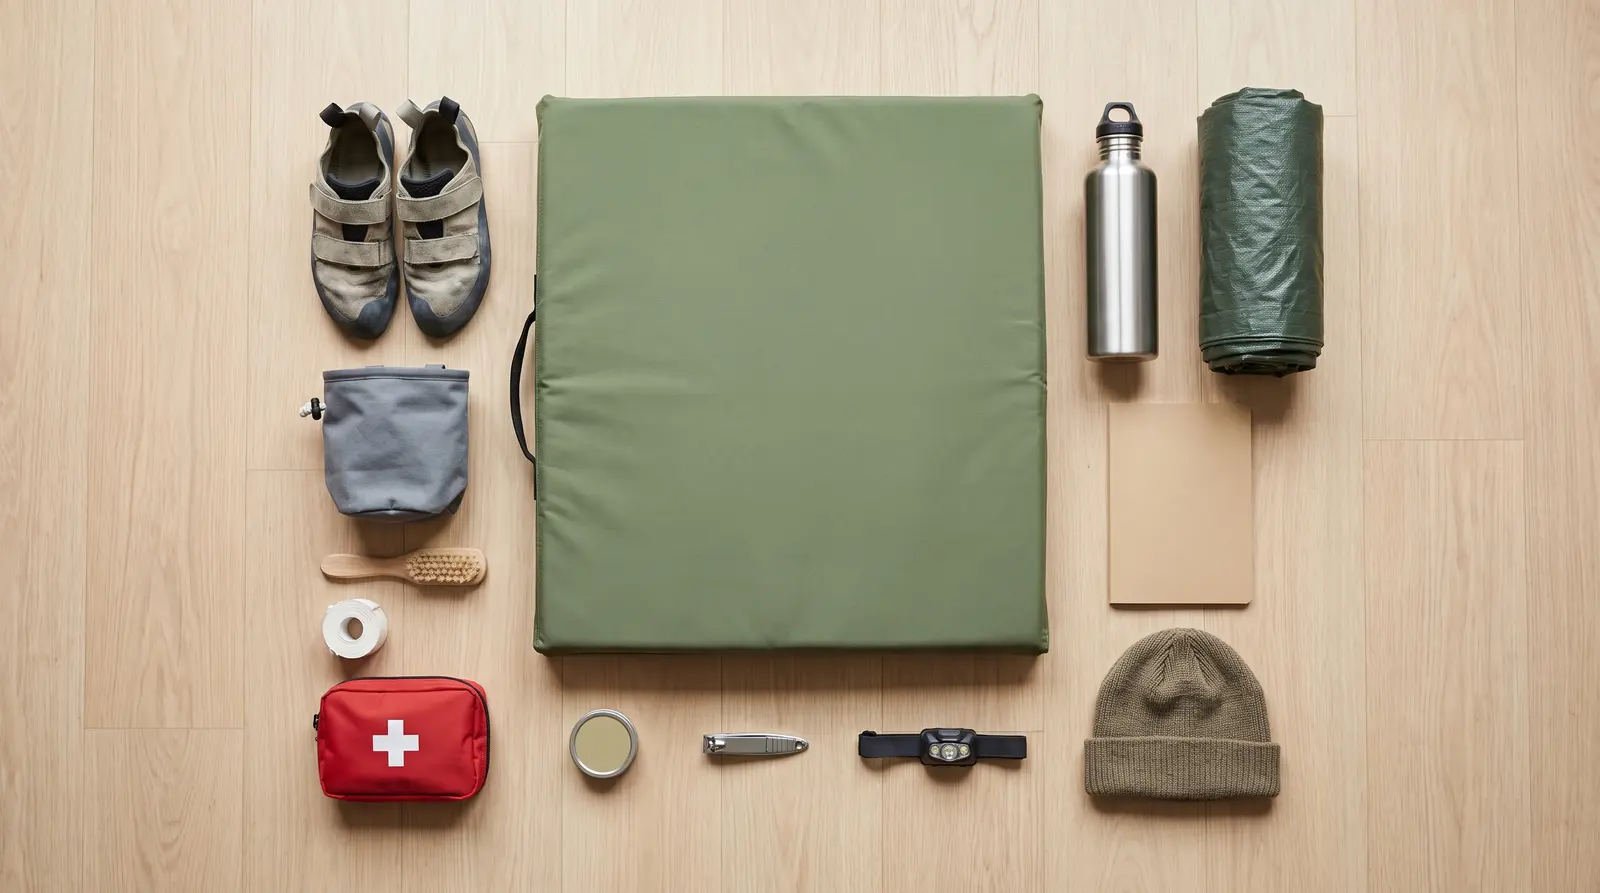
For buying advice, our best crash pads guide explains sizes, foam and folding styles. The full kit list for longer trips is in our bouldering trip packing list.
Choosing a beginner-friendly area and problems
The best first area is not the most famous one, but the one with lots of easy, low problems close together. Look for:
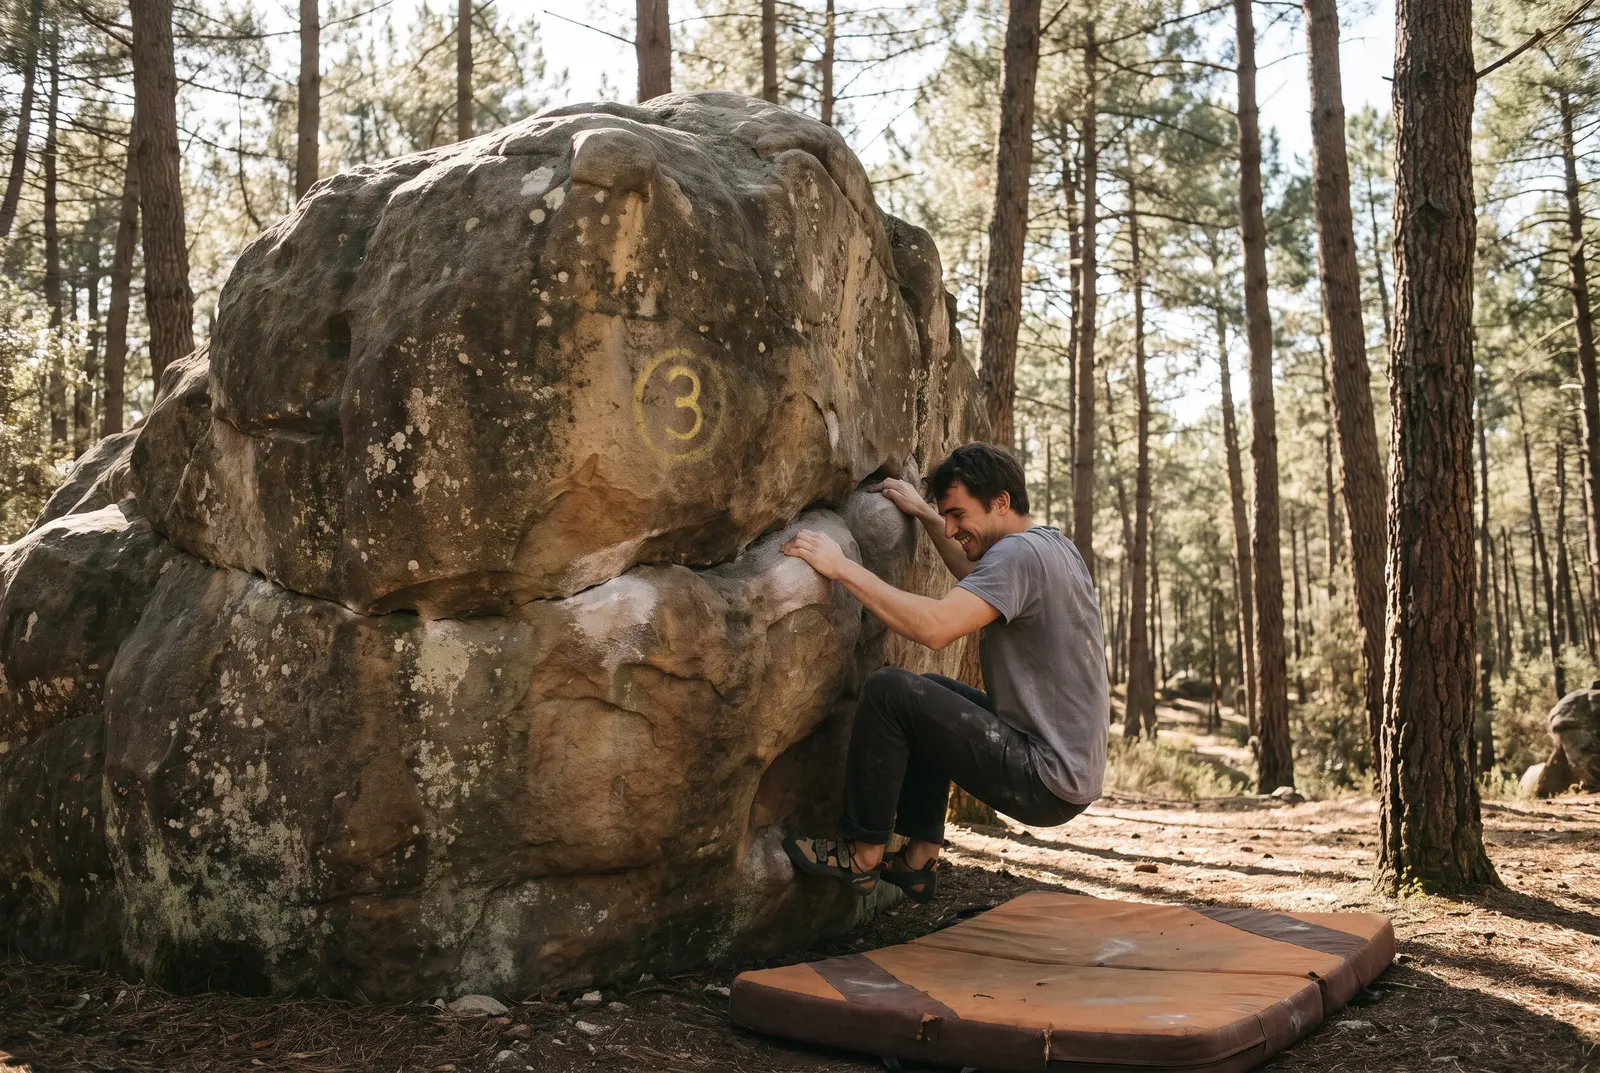
- Short approach. Carrying pads a long way tires you before you start.
- Many problems in the easy grades (roughly V0–V2 or Font 3–5), so you aren't stuck on one boulder.
- Flat, open landings that you can cover fully with pads.
- Low boulders with easy top-outs and simple walk-off descents.
- Good conditions info: aspect (sunny or shaded), how fast it dries, and any access restrictions.
If you are in Europe, Fontainebleau is one of the best places in the world to start, thanks to its low boulders, sandy landings and colour-coded beginner circuits. Our Fontainebleau bouldering guide covers beginner areas and planning. In the US, guides often suggest places such as Horse Pens 40 in Alabama, Joshua Tree in California and Rumbling Bald in North Carolina for newer boulderers.
Once you're there, pick problems in this order: easy warm-ups that you can downclimb, then problems one grade harder, then one or two "projects" at most. If you fail on something three or four times without progress, move on and come back later. On a first trip, lots of different easy problems will usually teach you more than many attempts on one hard one.
Spotting and pad placement basics
Outside, you and your friends are the safety system. Learning to fall well is the foundation, so read how to fall when bouldering before your first trip and practise low falls onto a pad at the start of the day.
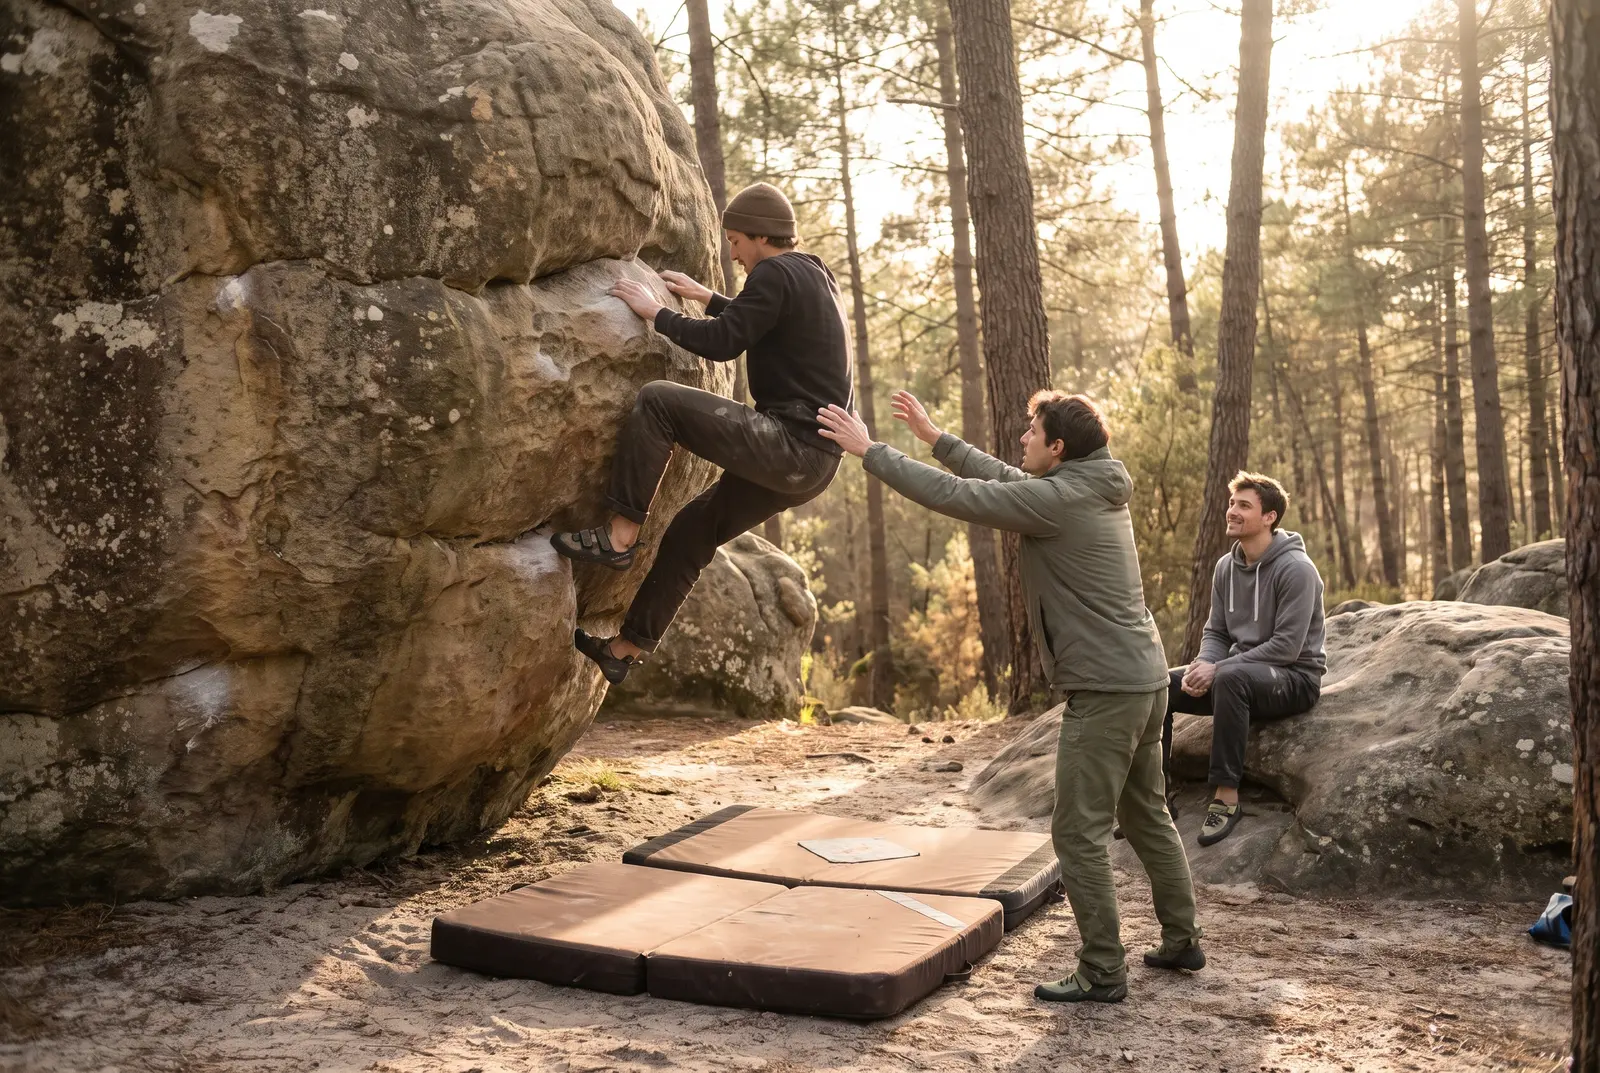
Pad placement
- Cover the fall zone, not just the start. Think about where you'll come off on the hardest move, and where your body will go if you swing or slip off a top-out.
- Close the gaps. Push pads together so there are no gaps or edges where an ankle can land. An ankle that lands in a gap or on a pad edge can easily roll.
- Flatten the ground. Put pads over small rocks and roots rather than next to them, and check you can't feel them through the pad. If a big rock or drop can't be covered safely, choose another problem. Don't move rocks or dig the landing to make it flat; that's a high-impact practice land managers want to avoid.
- Move pads as the climber moves on traverses and leaning problems.
- Don't put pads on plants. If the landing is covered in vegetation, the Access Fund suggests picking another boulder with a clear landing.
Spotting
- Stand in an athletic stance with feet staggered, hands up, fingers together and thumbs alongside (not spread) so you don't jam them.
- Your job is not to catch the climber. It's to guide their hips and upper body so they land feet first on the pad and don't hit their head or back on rock.
- Focus on the climber's hips and stay close, but out of the way of their feet.
- Talk before the climb: where the crux is, where they're likely to fall and whether they want a spot on the top-out.
- Stay focused until the climber is standing on top or safely back on the ground.
From an S&C point of view, the landing is the part of outdoor bouldering you can control best, and ankles are the joint most exposed to a bad one. Practise soft, feet-first landings with bent knees, roll back if you need to, and keep your arms in rather than reaching back to catch yourself.
Access, ethics and Leave No Trace
Bouldering areas exist because landowners and land managers allow climbing. Bad behaviour can close an area for everyone. A 2015 survey of boulderers in Rocky Mountain National Park found that gym-trained and lower-ability climbers reported less knowledge of Leave No Trace, and the park later started education programmes aimed at climbers moving from the gym to the crag. Don't be that statistic.
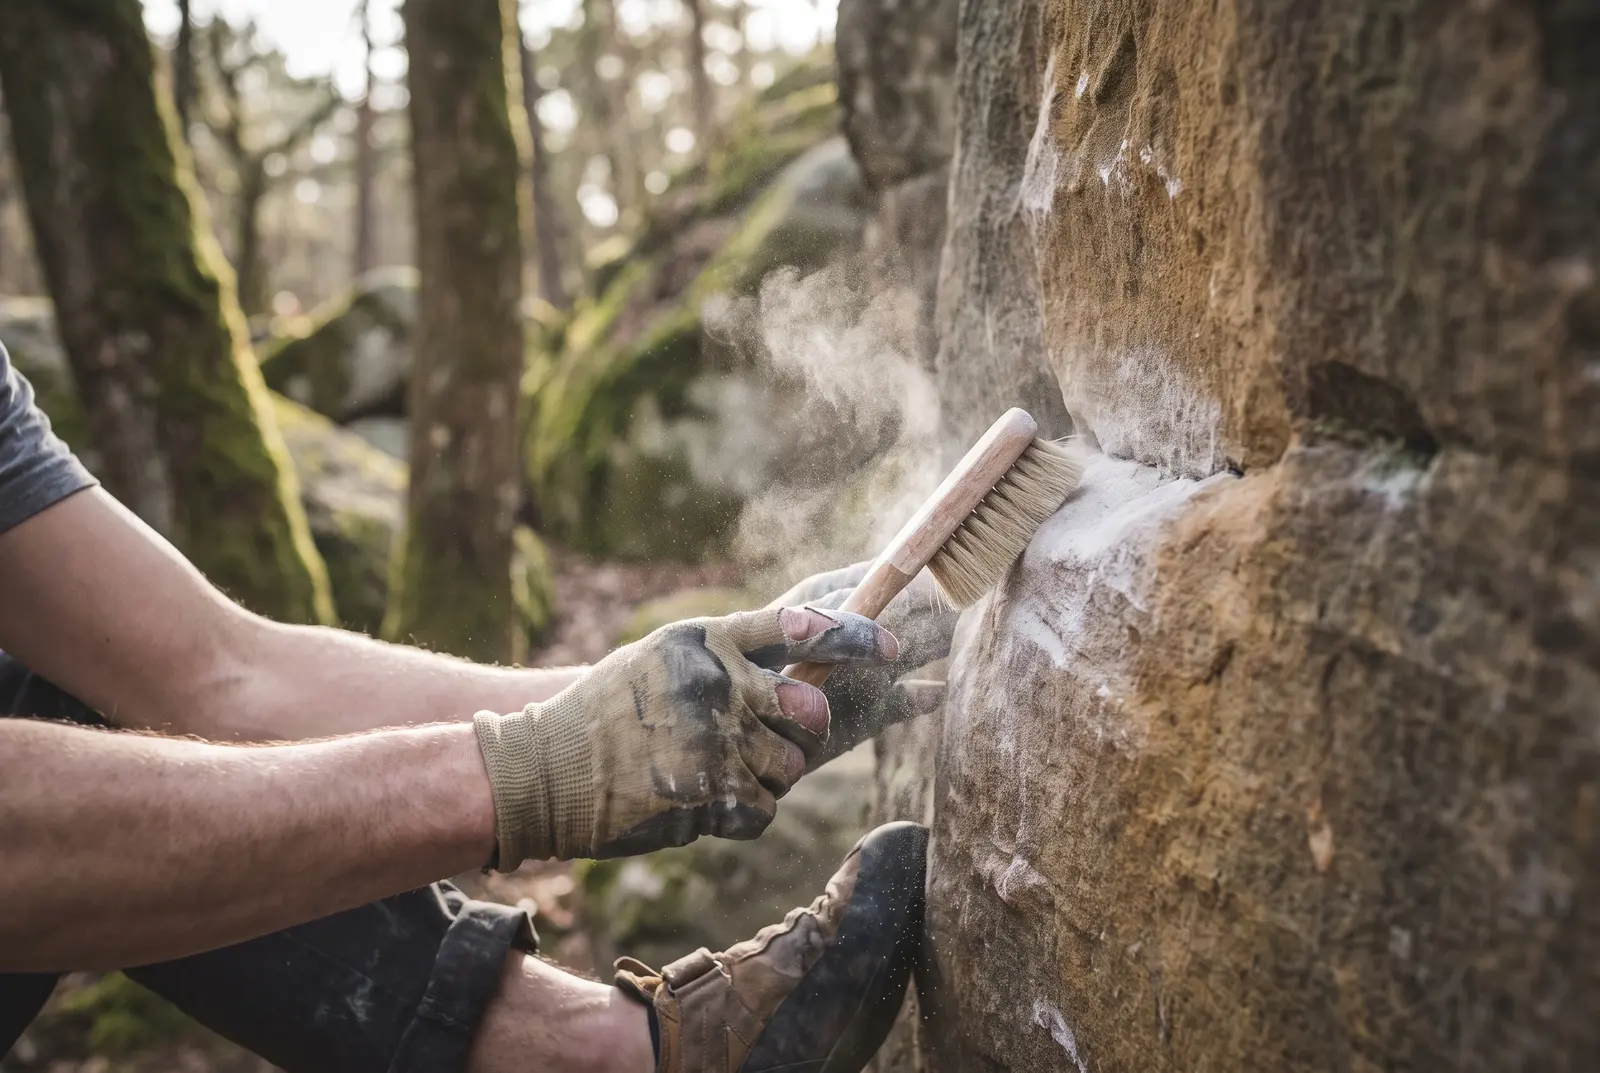
The Access Fund's strategies for low-impact bouldering, plus guidance from the BMC and land managers, boil down to this:
- Park legally and in designated areas, even if the approach is longer. Don't block gates or driveways.
- Stay on established trails. Social trails between boulders damage vegetation; the NPS team mapped nearly 3 miles of informal trails in two bouldering areas in Rocky Mountain National Park.
- Carry, don't drag, your pads, and don't place them on plants.
- Pack out everything: food waste, tape, wrappers and human and pet waste. Use a toilet before you go, or bring a waste bag.
- Use chalk sparingly and brush it off, including tick marks, before you leave.
- Brush gently. On soft rock like sandstone, the BMC recommends a very soft brush only.
- Never chip, glue or modify holds, and don't remove moss, lichen or plants.
- Don't leave pads or gear stashed at the boulders.
- Keep the noise down. Skip the speaker; other people come for the quiet too.
- Respect closures for nesting birds, cultural sites and private land. Your guidebook or app and local climbing organisation will list them.
- Dogs are not welcome everywhere. Check local rules and keep them under control.
Many of these are also part of good gym manners; our guide to bouldering etiquette covers sharing problems and space with other climbers.
Wet sandstone
This rule deserves its own heading. Sandstone weakens when it's damp, and holds can snap or wear away. The BMC says to climb only when the rock is completely dry, which can take 24 hours or more after rain, depending on sun and wind. If in doubt, choose a harder rock type, a different area or a rest day.
Ticks
Many bouldering areas are in woods and long grass, which is tick habitat. The CDC recommends staying in the centre of trails, using an EPA-registered repellent such as DEET or picaridin, and treating clothing and gear with 0.5% permethrin. After your day, check your clothes and gear, shower within two hours, and do a full body check, including under the arms, behind the knees, around the waist and in the hair. Check your pads before you load them into the car too.
Weather and conditions
- Check the forecast and recent rain, not just today's sky. Soft rock may still be wet a day after rain.
- Cool and dry is best for friction. Hot sun, high humidity or dew make holds greasy.
- Use the aspect. Shaded boulders in summer, sunny ones in winter.
- Wind helps rock dry but makes you cold, so bring a warm layer and a hat.
- Watch for storms. Lightning and slick rock make high top-outs dangerous.
Load management for your first trips
The first outdoor day often surprises people with how tired they are. You carry pads, climb on sharp rock, top out with mantels, and try more problems than usual. A few training principles help:
- Warm up properly on the easiest problems and with a short pulse raiser at the car park.
- Limit maximal attempts. Hard, repeated pulling on small holds, especially crimping, is a common setting for finger injuries. A handful of good tries per project is plenty.
- Stop before your skin is destroyed. Rough rock wears fingertips quickly, and one bad flapper can end a trip.
- Plan the day after as a rest or easy day, especially if you climbed for several hours.
First-day plan: a checklist
The night before
- Pick an area with easy problems and flat landings; choose a backup in case of wet rock.
- Read the access notes: parking, closures, dogs, toilets.
- Check the weather and recent rainfall.
- Pack shoes, pads, chalk, brush, rag, tape, first-aid kit, guidebook or app, layers, water, food and a rubbish bag.
- Charge your phone, save an offline map, and tell someone where you're going and when you'll be back. Many areas have poor reception, so know how you'd get an injured person out.
At the area
- Park in the designated spot and walk in on the main trail, carrying pads.
- Warm up with a few minutes of movement, then two or three very easy problems you can downclimb.
- Practise a couple of low falls onto the pad and run a quick spotting practice with your partner, ideally with an experienced climber showing you how.
- Before each new problem: look at the holds, find the descent, place pads, agree on the spot.
- Climb a pyramid: many easy problems, a few at your outdoor level, one or two harder tries.
- Brush tick marks and chalk off as you finish each boulder.
- Before leaving, sweep the area for tape, wrappers and gear.
Afterwards
- Tick check and shower.
- File rough skin and moisturise.
- Note which problems and areas you liked for next time.
FAQ
Is outdoor bouldering harder than the gym?
Usually, at first. Outdoor problems have no coloured tape, so you have to find the holds and the sequence yourself, footholds are smaller, and you often finish by climbing onto the top of the boulder. Most people climb one or two grades below their gym level on their first trips.
What do I need for my first time bouldering outside?
At minimum: climbing shoes, a crash pad, chalk and a soft brush. Add a guidebook or app, finger tape, a small first-aid kit, water, food, warm layers and a bag for your rubbish. Going with an experienced friend and a second pad makes the day much safer.
Can I go outdoor bouldering alone?
It's possible, but not a good idea as a beginner. A partner can spot you, move pads, help if you get hurt and share the work of reading problems. If you don't know anyone, look for gym meetups, local climbing groups or a guided introduction.
When is the rock too wet to climb?
If the rock looks dark, feels cold and damp, or has wet patches, wait. Soft rock such as sandstone is weak when wet and holds can break; the BMC notes sandstone can take 24 hours or more to dry after rain. Harder rock dries faster, but wet holds are still slippery and dangerous.
Sources
- Access Fund, Four Simple Strategies for Low-Impact Bouldering (2021)
- British Mountaineering Council, Best practice for bouldering on sandstone in Font (2024)
- National Park Service, Better Bouldering: Using Research for Management (updated 2023)
- Centers for Disease Control and Prevention, Preventing Tick Bites
- Owen Clarke, Outdoor Bouldering: The Ultimate Beginner's Guide, Climbing House (updated 2024)